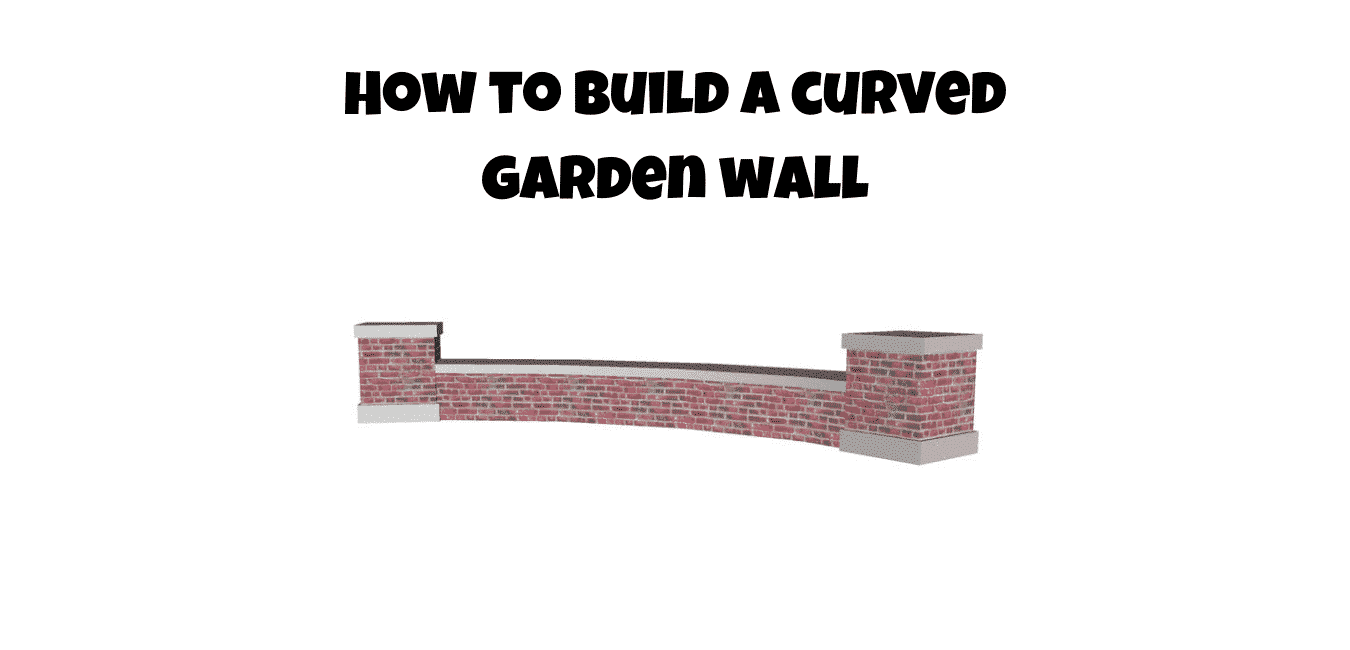
How to build a curved garden wall
A curved brick wall is an excellent addition to a garden or landscaping design. Although bricklaying and masonry is not easy, building a simple, curved brick wall is possible.
A brick wall that is a certain height can be created with suitable materials and a plan.
It is a small construction that you can do with the right know-how. However, the DIY curved garden wall construction involves a few steps and procedures that must be followed. Here we will cover all the steps needed to build the DIY curved garden wall, meaning you can do it yourself so let’s build it!
Table of contents
- Planning Your curved garden wall
- Step-1: Determine the Radius of Curved Garden Wall
- Preparing the Wall Base Area For The Curved Garden Wall
- Laying The Bricks
- Curved Garden Wall
- How To build a Curved Garden Stone Wall
- Tips to get the exact curve for the wall
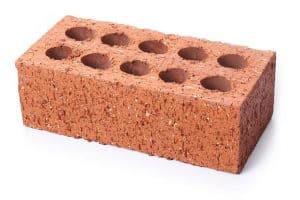
- Bricks
- Sand and cement
- Shovel
- Cement Mixer
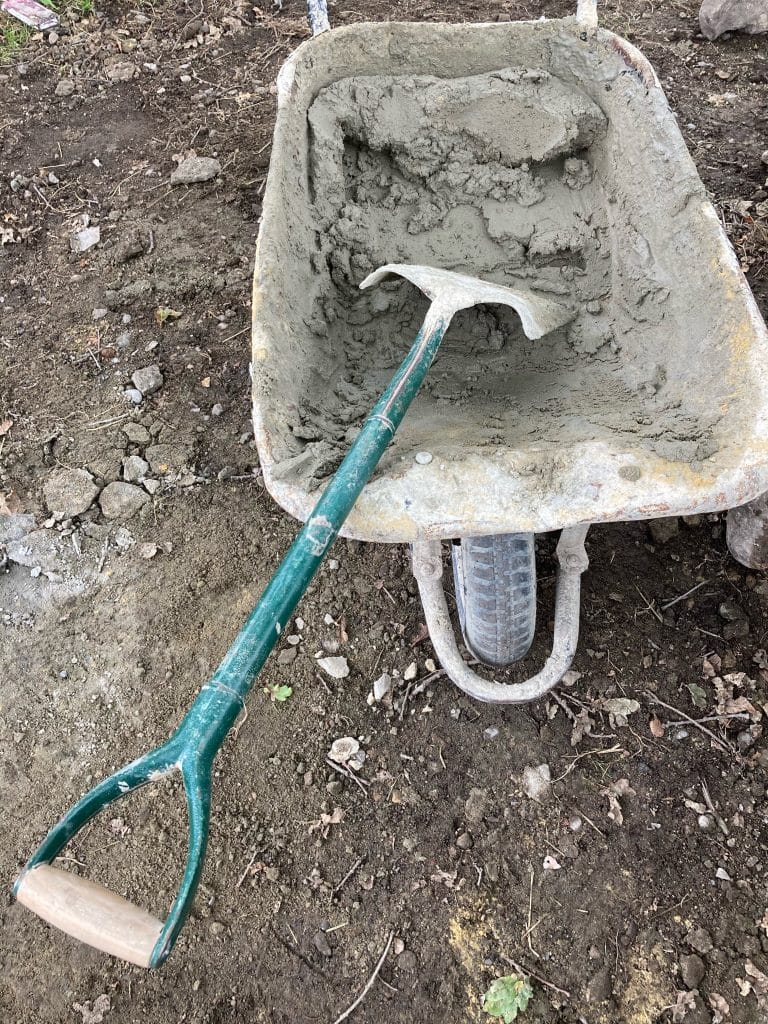
- Wheel Barrow
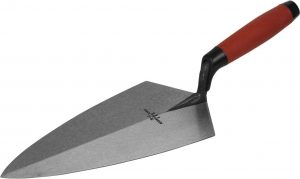
- Bricklayers Trowel
- Brick Jointer
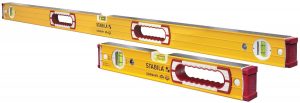
- Spirit Level
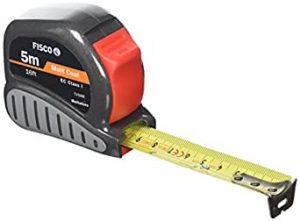
- Tape Measure
- Lump Hammer and Bolster
- Gloves and goggles
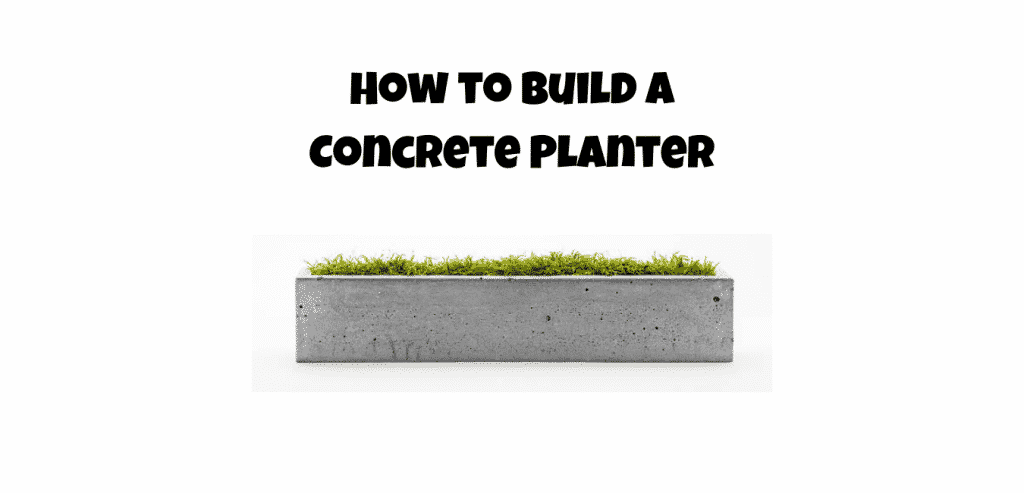
- How to Build a Concrete Planter at Home
Planning Your curved garden wall
Your first step in building a DIY curved garden wall is to decide where it should be situated. Construction will be more straightforward if the surface is flat. However, if the surface is not flat, you will need to put in a particular footing in that will have to step up with the gradient of the land.
To calculate the number of bricks and mortar required, measure the area you want your wall to cover. Then, to determine the wall’s length and height, you can calculate the bricks’ length and height. Because your wall is curved, you will need to cut bricks to build those curved areas. You can do this with a masonry cutter or brick bolster, depending on the type of bricks been used.
Step-1: Determine the Radius of Curved Garden Wall
The most crucial step is to prepare the proper layout of your curved garden wall as all the structure and shape of the wall depends on setting it
You can make it perfect by following the below steps and calculate how many bricks you will need.
Step 1
To measure the total length of the wall, draw a straight line along the wall. This is known as a chord. The chord for this example is 10 feet long.
Step-2
The distance between the chord’s front edge and the top of an arc is the measure of the wall’s depth. The wall’s depth is 4 feet in this example.
Step-3
Divide the height of the wall by 2.
4 / 2 = 2
Step-4
Square the width of the chord.
10 * 10 = 100
Step-5
Multiply the height of the wall by 8.
Step-6
Divide the result you got from squaring the chord by the result you got from multiplying the height by 8.
100 / 32 = 3.125
4 * 8 = 32
Step-7
To calculate the radius, multiply the number obtained by dividing the height by 2.
2 + 3.125 = 5.125
The radius of the wall is 5.125 feet.
Preparing the Wall Base Area For The Curved Garden Wall
When you have done the planning and calculations, it’s time to build a natural curved garden wall. The first step to start is preparing the base area of the wall.
Preparing the ground is most important before you start laying your bricks. It starts with digging a trench the same width and length as your wall. Next, place wooden posts or at every 3 feet. These posts will be your footing pegs. Use a level to ensure that your footing pegs are even
Fill the trench with cement until it reaches the top of your footing pegs. To smoothen the concretes top, use a concrete float or the bottom of
Laying The Bricks
After a few days, you can start laying the bricks.
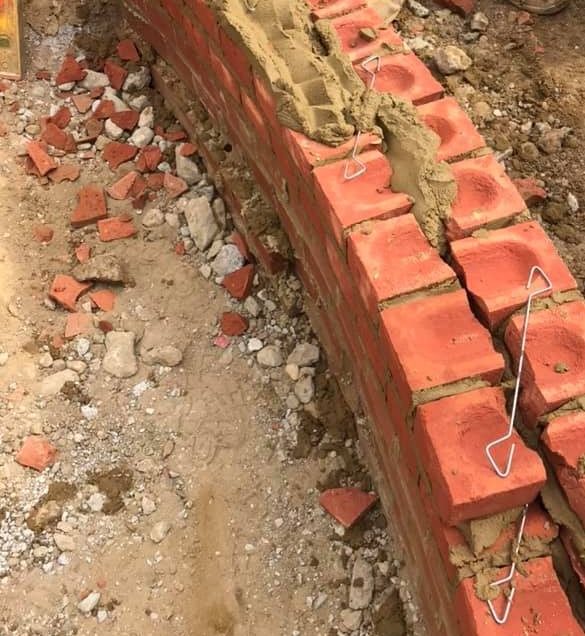
Leave 10 mm between each brick.
10mm mortar bed and 10mm mortar joint.
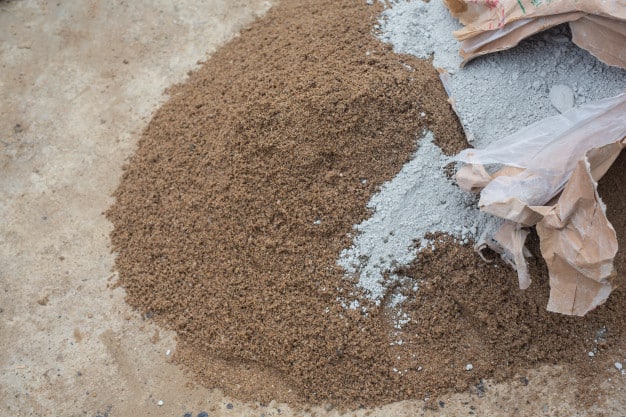
Mix your mortar according to the manufacturer’s instructions and usually a ratio of 4:1 four sand to 1 cement or if wanting a stronger mix 3:1.
Spread a thick layer of mortar (approximately 12 to 15 mm) on top of the bricks you have laid. Spread the mortar with a bricklayers trowel.
After you have laid the first course, you can start the second course. To ensure that the bricks are securely inserted in the mortar, tap them into position with the trowel. To ensure that the bricks are evenly levelled, use a bricklayers spirit level. As you spread the mortar, spread evenly and make sure the masonry is level and plumb.
Once you have a strong foundation of bricks and above ground height, you can begin to build the masonry above ground. To ensure that bricks are flush with the walls’ outer edges, mark plumbing points on the wall so you can plumb the curved wall in the same position as you build.
You may want to build the next section of your wall from one side, filling the interior area as you go.
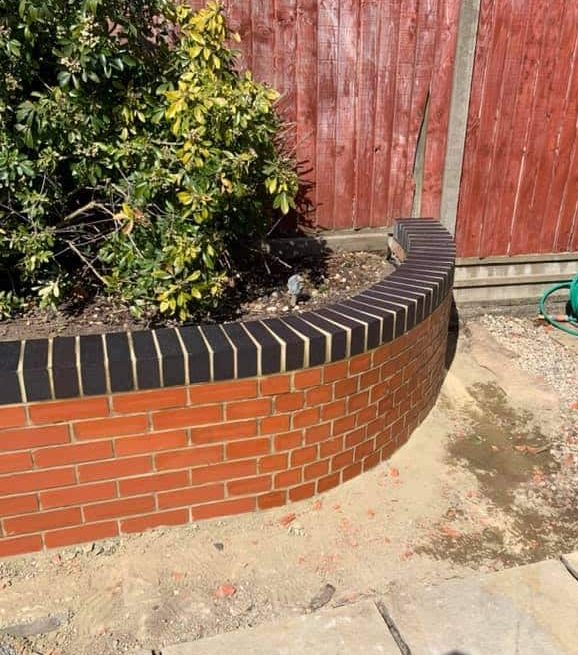
Flip bricks on the top row over. To act as a cap, in bricklaying terms, it is called brick on edge, and because the bricks are on the side, it is perfect for the top of a radius wall. Once the bricks have been laid, point the top and sides leaving a clean finish.
Curved Garden Wall
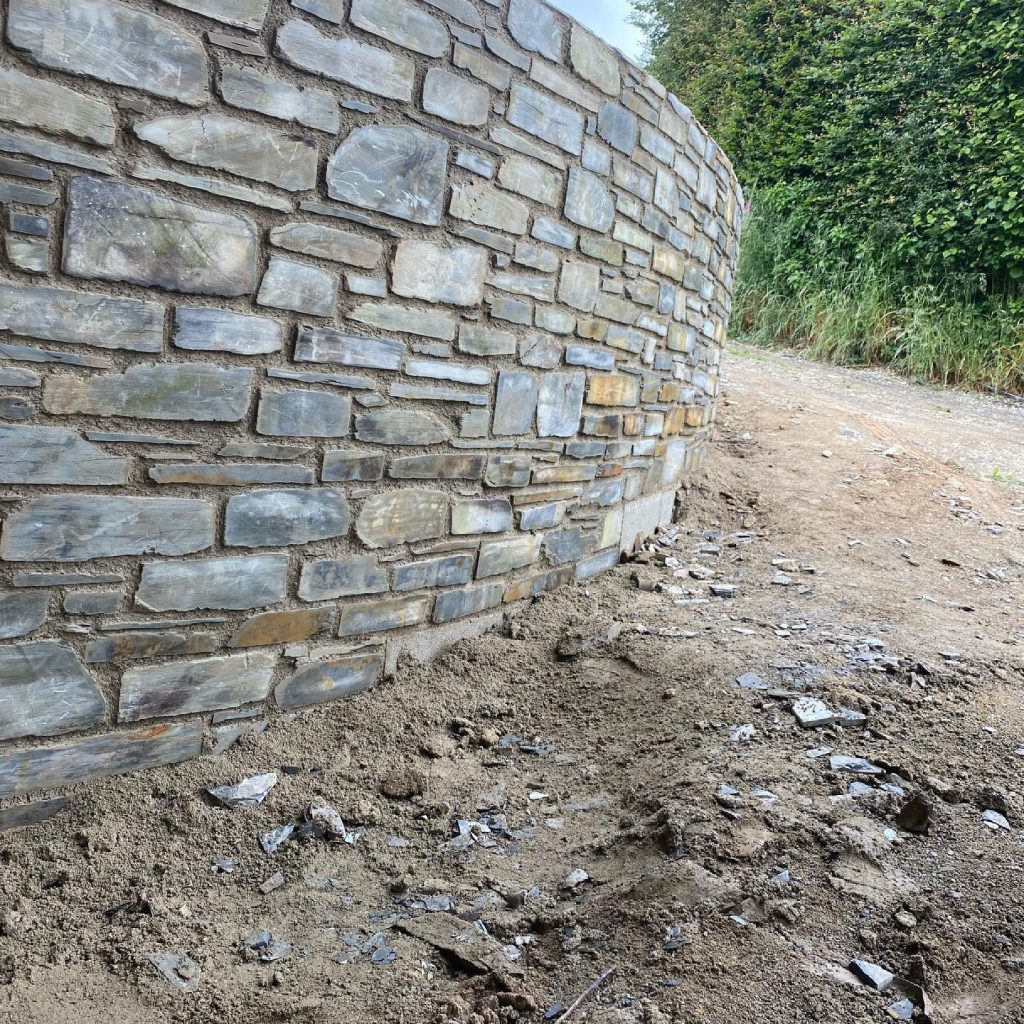
How To build a Curved Garden Stone Wall
When it comes to building a curved stone wall it all depends on what type of stone is been used, whether its coursed random stone, rubble or even flint can be used to build a curved wall so depending on the type of stone been used the same rules apply.
Tips to get the exact curve for the wall
Getting the right curves depends been right from the start of construction. From the point where the curve will start, measure straight back from the wall the required amount (shown in the radius chart) and drive a stake into the ground. This will be the centre of the curve. Attach a string line to the stake the length of the radius and rotate it around to mark the location of the base course. Next, install the blocks with the front of the blocks lining up with the mark.
To transition the curve back into a straight wall or another curve, lay out the curve and the first couple bricks of the next section. Tweaking 1 or 2 of the bricks will help transition into the straight brickwork.
TIP.
Mix the right ratio of sand and cement and fill all the perps and beds with mortar on the inside
Check the mortar on your brick wall for cracks in colder climates. Make repairs as necessary. Although bricks can last many years, if mortar begins to crumble, it could compromise the integrity of your wall.
Meaning never lay in below 0 Temperatures.
Bricks
Sand and cement

Shovel
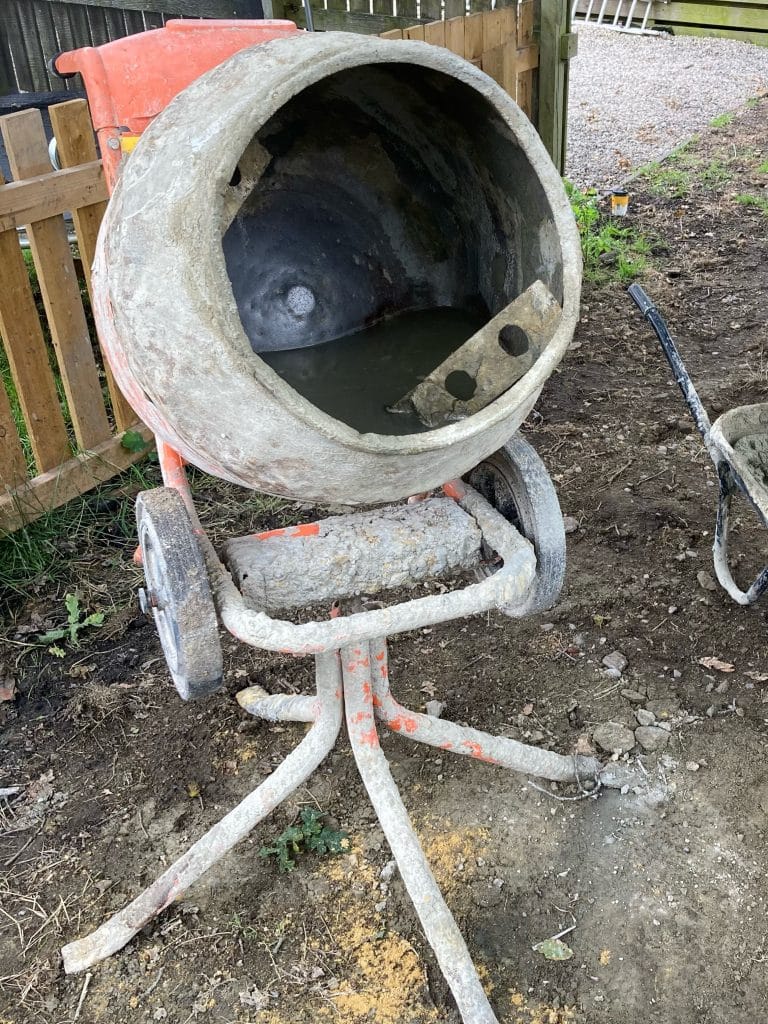
Cement Mixer
Wheel Barrow
Bricklayers Trowel
Brick Jointer

Spirit Level
Tape Measure
Lump Hammer and Bolster

Gloves and goggles

How to Build a Concrete Planter at Home