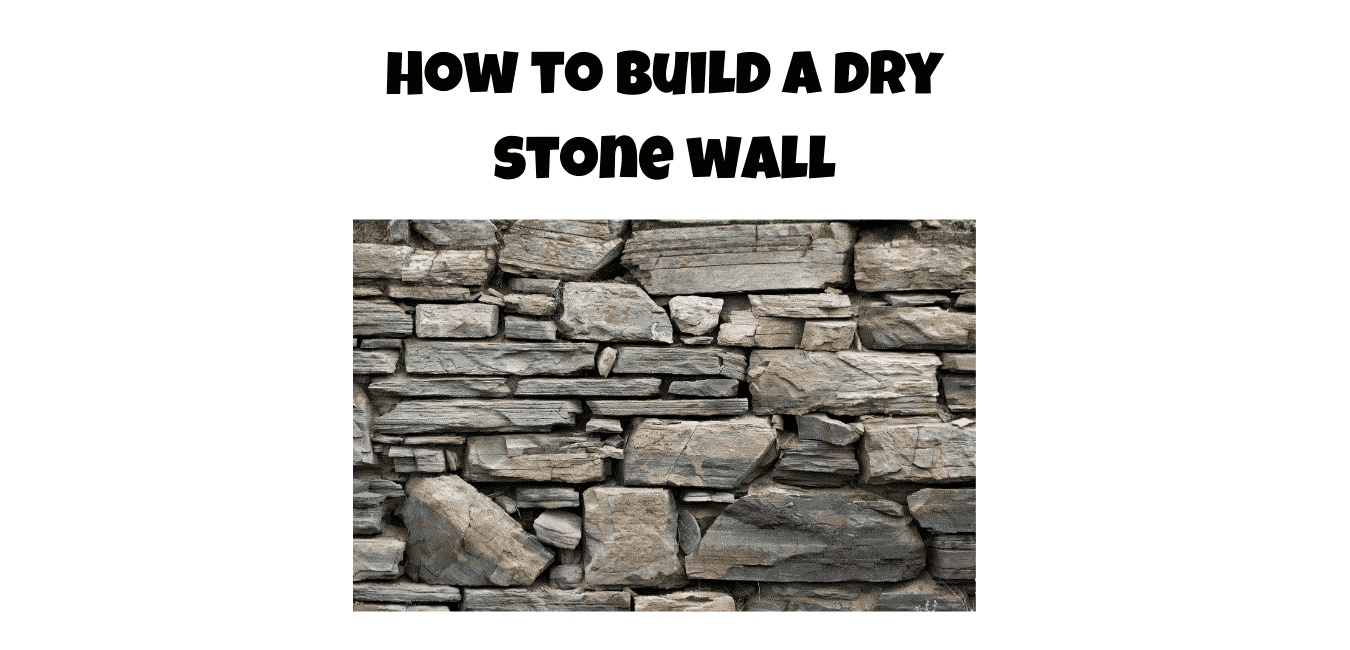
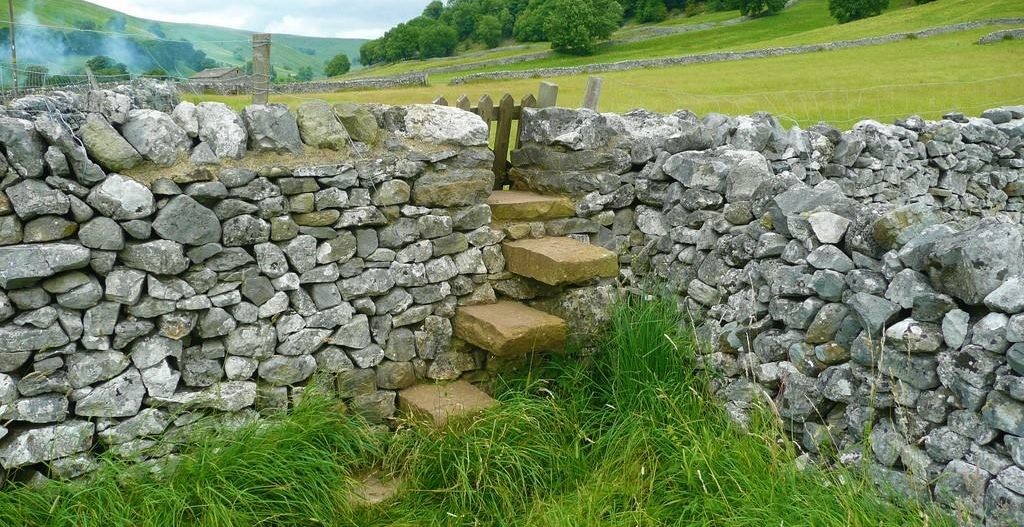
How to Build a Dry Stone Wall
The dry stone wall is a beautiful and artistic boundary wall best known in stone masonry, traditionally used for the boundaries of fields.
In the traditional method of dry stone walling, carefully selected stones are properly stacked and held together without mortar.
In this guide, “How to build the dry stone wall” we will learn the same traditional construction methods that have been used for generations.
Dry Stone Wall Design
Traditionally dry stone walls are used for livestock and boundary walls with a high range of 3 to 6 ft. Dry stone walls are stacked stones that lack the mortar and cement holding the wall together, so it should have a narrower top than the bottom and have a slight batter. The batter is described as a ratio of run to rise. For example, a 1:6 batter means that for every 6″ of height, the wall gets narrower 1″ on each side. The typical range for the batter is from 1:6 to 1:10.
Basic Rules Of Dry Stone Wall
The strength of a dry stone wall lies in friction and gravity. The friction between the stones keeps them from sliding apart, and the stones’ weight increases the friction. So to get the maximum friction and gravity, keep the following rules in mind.
Set all the stones so their length goes into the wall, not along with it. Just like when stacking firewood, where only the ends of the pieces of wood are visible in the finished stack. It will maximize the friction between the stones and get the centre of mass of each stone closer to the core of the wall.
Cross the joints. Like standard brickwork, each stone should span the joint in the course below and sit firmly on the two stones on either side of that joint. Vertical joints running up the wall through multiple courses are called Running Joints.
Build with the plane of the wall. Set the wall stones so that their faces line up with the outside front of the wall, creating a smooth, even plane.
Step-By-Sep Guide to Build a Dry Stone Wall
Step 1
Dig a Trench for the Base
As the stability of a drystone wall is based on gravity, the stones have to be tight up against each other for the wall to be strong.
Dig your footing 24 inches wide and 4 to 6 inches deep. If you are not putting in a concrete base, you can use the traditional way and lay on the soil.
Many drystone wallers use the old technique of digging the footing as a v into the soil, so the first course slopes into each other, giving the wall strength, but we recommend putting a 6-inch deep strip footing in if needed.
Tip
If building a wall on uneven ground, the footing must be stepped below the ground so that each stone in the 1st course and courses after can be built level when coming out of the ground.
Step 2
Lay the First Course
To lay the first course, place the stones at the bottom of the footing, with each stone slightly sloping to the centre of the wall.
Choose stones that are relatively even in size and that reach the centre of the footing.
Once the first course has been laid, backfill the centre in with loose stones.
Try to leave a smooth top surface on the first course, so the stones match the heights.
TIp
To calculate the appropriate thickness for your wall, it depends on the quality of stones your using.
A quality stone is level on the top and bottom one that will sit straight and support the maximum weight without moving.

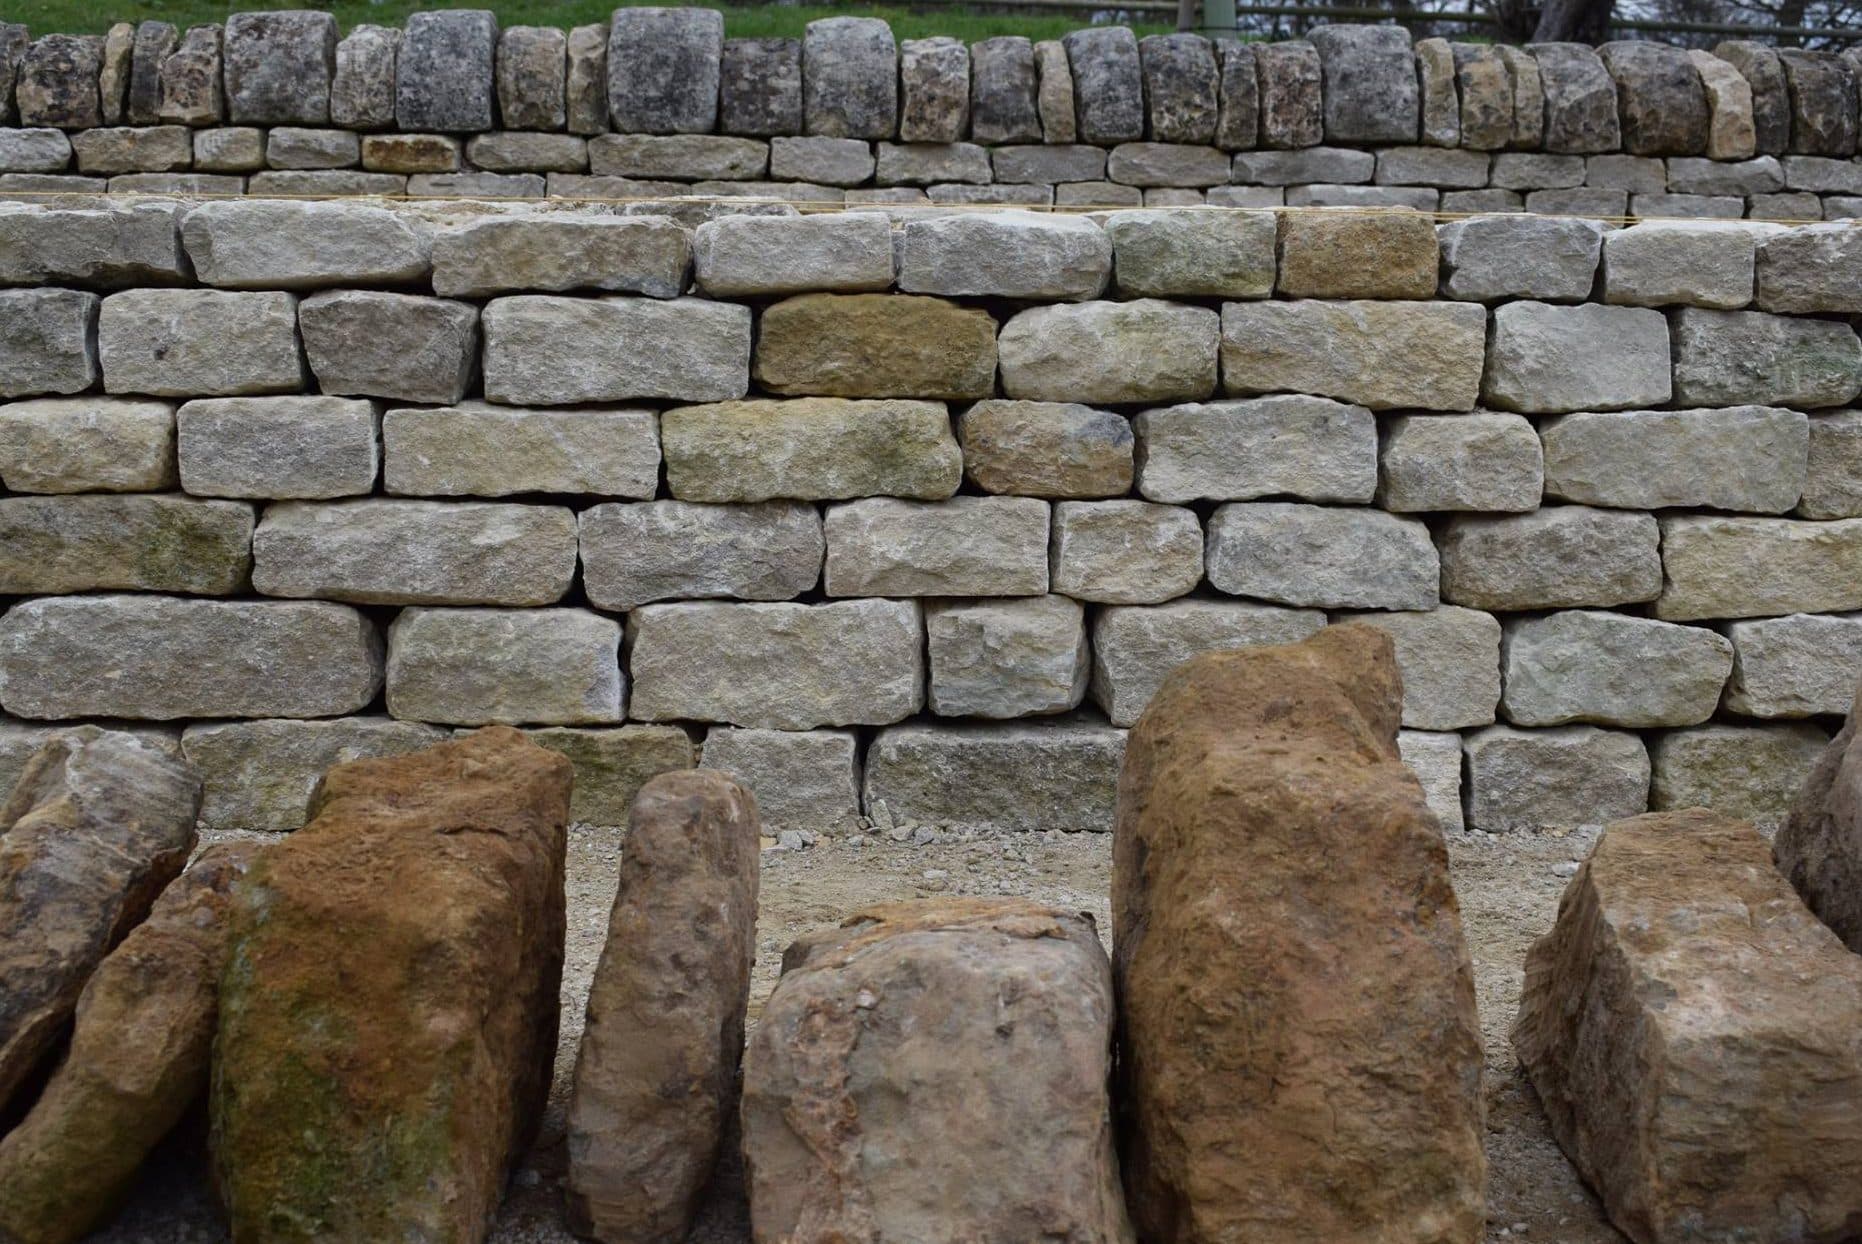
Laying the Courses
Start the next course the same way, trying to pick good stones, make sure it is bonded, and cover the cracks below. On this course, try your best not to have verticle running joints. You can do this by using a selection of large and small stones while also keeping a level and even surface.
Depending on your stone, you will need a tie stone with the front and back stones together every third course.
Place a 24 inch stone that spans the width of the wall every 4ft and on every third course in random locations on the wall. This will be seen on both sides of the wall so try looking for one with a square and level face.
When using a tie stone, it won’t have the v shape in the middle use a lump hammer and chisel to establish the v shape in the stone.
When sitting your courses down and they might not create the v shape on each course, you can sit shims and wedge up the outside of the stone. To get shims, you can chip away and break up larger stones for the size desired.
Properly wedged in shims will create a strong solid wall.
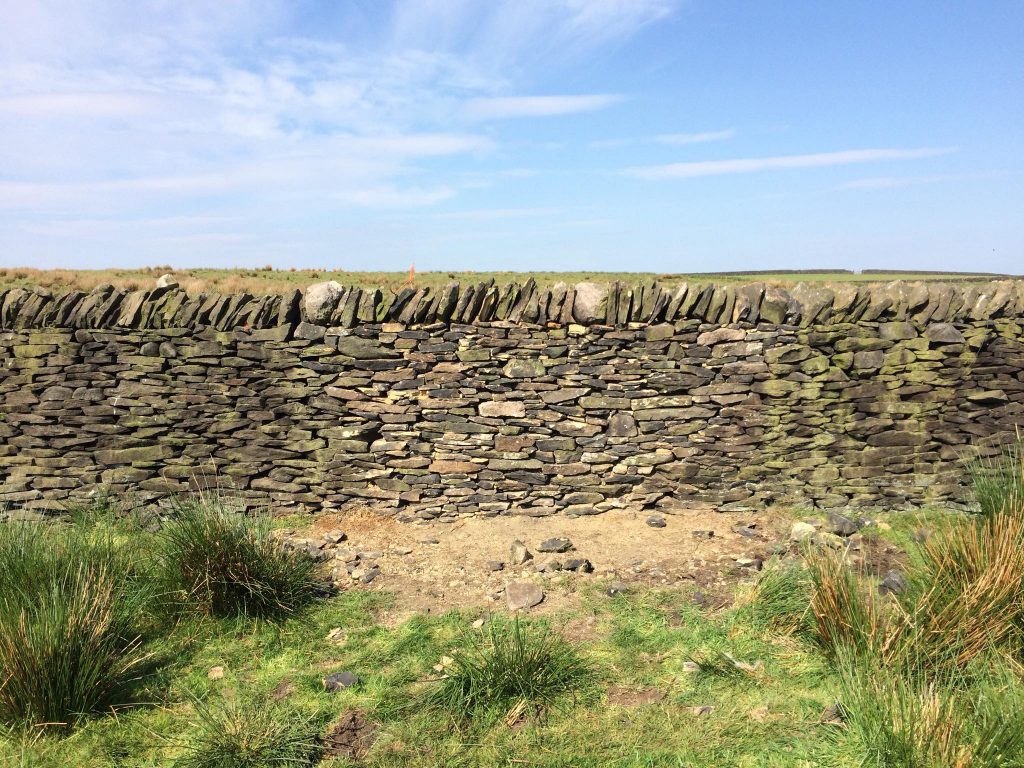
Capping stones
In the cross-section of a drystone wall, the front course and the back will lean into each other, so as the mason lays the last course, it has to be flat ready for the capping stone.
The capping stone, or what is also called the ties stone, is placed on top of the wall as they hold the wall together and keep out the rain.
The capping stone spans the width of the wall and provides stability and support.
Tips for Building a Dry Stone Wall
Establish an even line on the wall, as it’s a stone wall and can be built with random stones that vary in size. You want to establish an even plane that you can keep checking as you build, use a string line or large straight edge and use it as a guide to insert and position the stones.
When choosing a Stone look for the best edge and lay with the stone slightly sloping downwards if possible.
If any laid stones are short to the centre of the wall fill the centre with any rubble or small stones.
Avoid vertical running joints and always make sure they are crossed
Selection Of Stones
Palletized stone is an excellent choice for a drystone wall but tends to be quite expensive, and it is often sold by size/selection for masonry applications or veneer. For a clean construction of dry stone walls, multiple grades or sizes will need to be purchased. When it is about the type of stones, the flat stone is good than blocky or rounded stone. In general, it is better to have longer dimension stones. If you want a more random look, go for a smaller, flatter stone.
Necessary Tools to Build a Dry Stone Wall
The dry stone wall is one that you can construct with a very basic set of tools.
- Shovel for preparing the foundation
- Tape measure
- Spirit level
- Brick or mason hammer
- lump Hammer and masonry chisels for stone trimming
- 6 to 10 lb sledgehammer for breaking up a large stone
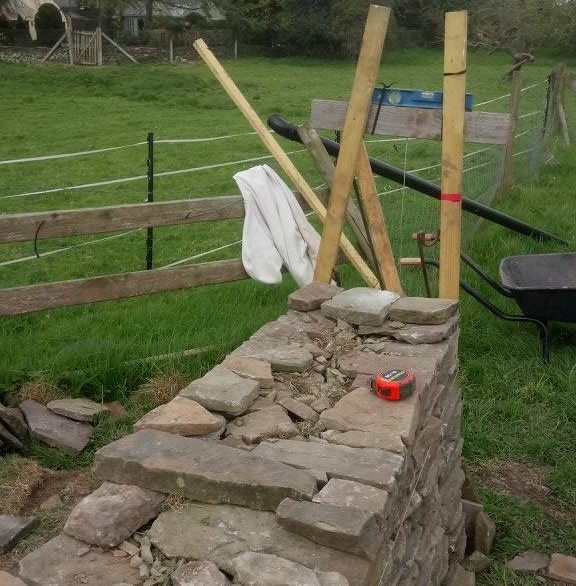
- Batter frame, A Frame
- Masons Line
If you’re going to go to the effort of building a batter frame to build your dry stone wall there is a simple ratio below that will help to get the frame right.
- Mark the base width (here 80cm)
- Mark a line 1.2 cm from the base of the ply parallel to it.
way you can be more sure that your top line is parallel to the bottom one as it should intersect with all your marks (bear in
mind that the marks are unlikely to be exactly 1.2m from the bottom
you should be able to get it close enough). - Mark in from the edge of the ply the position of
half the base width (in this instance 80cm/2= - Divide the top width below cope by two (i.e. in this case 40cm/2=20cm) and mark this distance either side of the centre
mark. - Mark in the outside faces of the wall by joining the corners
Cutting Stone
To cut a stone, lay the stone on something soft to absorb the shock.
You can lay it on sand or even mud. It is good to make a cutting station around waist height so that it can be anything from blocks stacked to a table with a rug on.
To cut a stone, you want to make a series of light strikes around the stone with a hammer and chisel.
Once marked the cut, you want to go around the stone again, striking harder and going round with more force until the stone breaks.
When cutting stone near the edge, a light tap with the chisel will trim the stone, but if you want a deep break, you want to hit into the stone with a heavy hit that should break through the stone with a straighter cut.
Staying Safe
Wearing the correct PPE and safety equipment is essential. Make sure to wear hard hat gloves and goggles, and steel toe capped boots.

When cutting stone, make sure you wear a dust mask. Fragments of the stone will chip off and create dust, so goggles and a dust mask is essential for your protection.
How to Point a Wall like a Professional
Pingback: How to build a dry stone wall - The Architects Diary