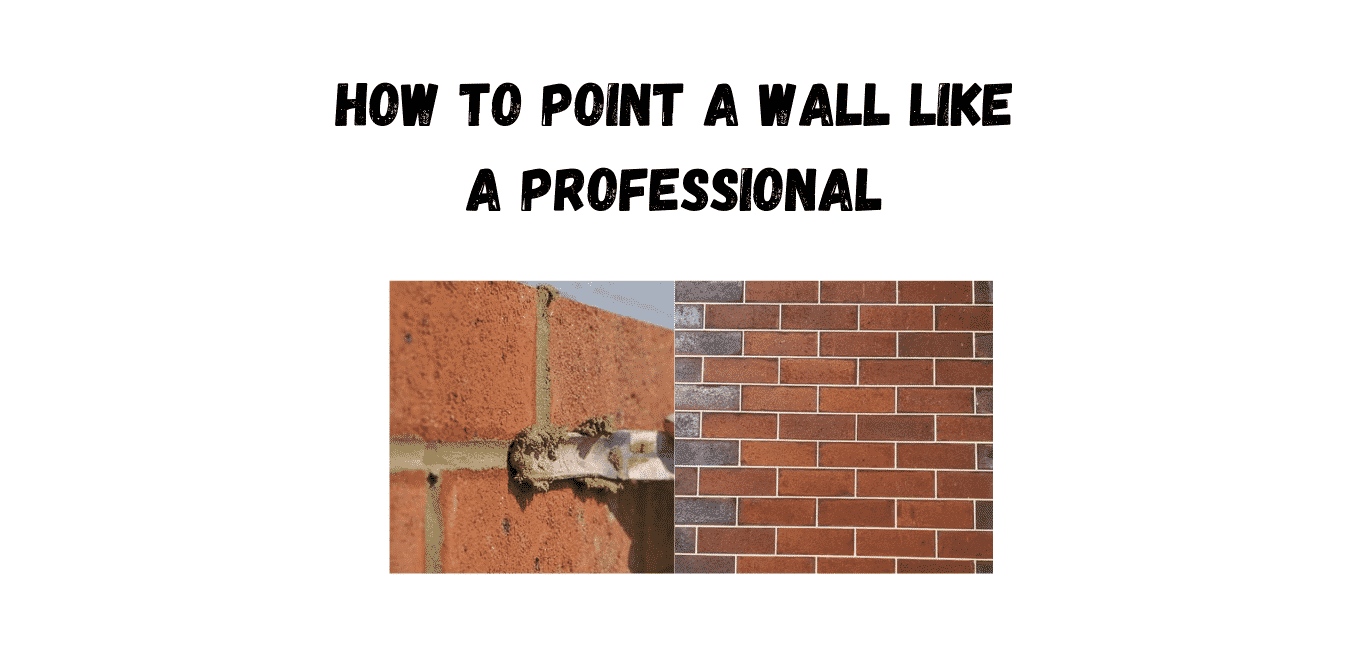
How To Point A Wall
An easy and quick guide on how to point a wall step by step
Pointing a wall is an essential job in any construction process, and if it’s not done correctly, it can cause leaks and damage that can compromise the structure. Carefully repointing the masonry is a simple process that needs to be done right.
Therefore below, you can find an easy guide on pointing a wall, the tools needed, and general advice for the procedure to achieve an excellent finish.
Pointing a Wall
A brick wall can be successfully and effectively pointed in a few easy steps done in small sections at a time.
To begin, remove the old mortar from vertical and horizontal joints (to a depth of about ½ inch) with a cold chisel or a seaming chisel to ensure no brick is damaged in the process.
It is better to grind out the bed and perp joints with an angle grinder and diamond blade for larger jobs.
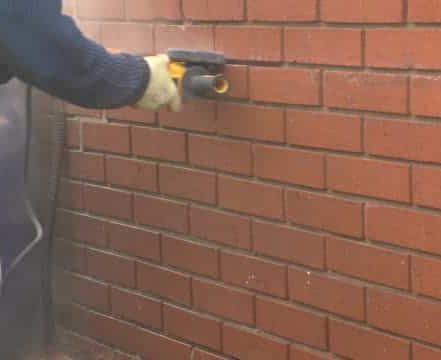
Once done brush the remaining mortar out of the joints with a stiff brush.
After that, you’ll want to mix the new mortar with adequate cement for the pointing. For places less than 50 years old, standard Portland cement will do just fine, but for those older buildings, you might want to use a different mix consisting of sand and lime.
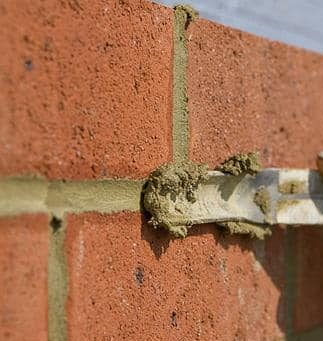
Next, apply the new mortar into the horizontal and vertical joints between the bricks. use a brick jointer and a hawk to apply the new mortar into the joints.
Strike off pushing the mortar in with the brick jointer leaving a half-barrel finish.
Make sure to fill the perps and beds so there are no holes.
Once semi dry brush off the snots with a soft brush.
How to Repoint a brick wall
- Clean the area prior to any initial work.
- Remove the old mortar between the bricks with a grinder or chisel.
- Mix the new mortar.
- Carefully (and patently) add it to the perps and bed joints.
- Brush once semi dry to remove any snots.
Repointing a brick wall is not a quick task, so make sure to take adequate measures to properly prepare the wall before pointing.
As explained above, for houses less than 50 years old, type I Portland cement will be perfect for pointing a wall, in addition to mixing it in calculated proportions with water and sand to create cement.
A General Mix of sand and cement at a ratio of 4:1 parts sand to 1 part cement.
For older buildings or a general Lime mix for basic repointing, purposes to be used in an area with normal weather conditions would compromise 1 part lime, 2½ parts sand, There are, of course, other types of cement for different conditions, such as for high early strength (type III), for low heat of hydration (type IV), for high sulfate resistance (V), and more.
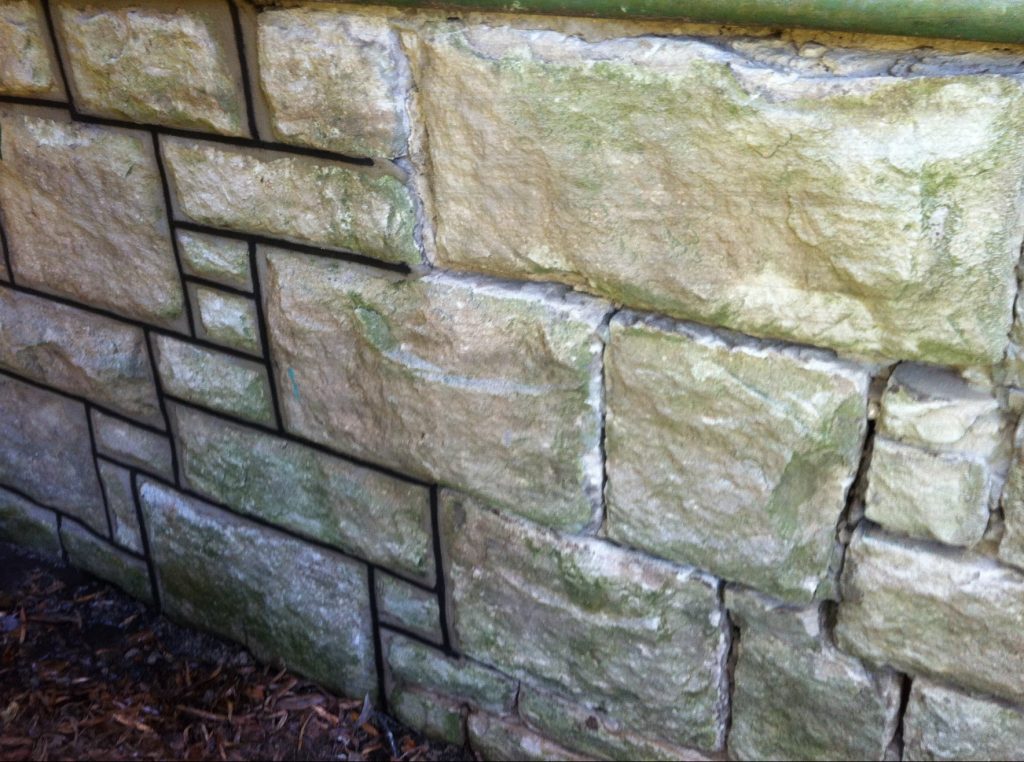
Pointing A Sandstone Wall
For a sandstone wall, the first step is to remove any vegetation that may be growing between the stones and remove any mortar from around the stones with a cold chisel. After that, brush out any dust from between the blocks and slightly wet the surface to begin the pointing process.
Next, prepare the cement and mortar mix and add the preferred colour (optional) push the mortar into the joints around the stone blocks with a pointing trowel. Leave to dry for about 15 minutes and then soften the edges with a brush over the mortar. After an hour, use a soft brush to brush down the wall gently to finish the process.
What Is Lime Mortar Pointing?
Lime mortar pointing is a mix of cement, sand, and lime (or plasticizer) with water. It is a material both porous and softer, in comparison with other cement mortars.

This pointing mix allows the moisture between the bricks to evaporate at a faster speed, reducing the level of general moisture of the building, decreasing the possible appearances of salt on the surface of the stone or brick (Once repointed over time can cause the bricks to break down)
The application requires careful and meticulous control, especially with the drying process.
Chimney Pointing
When it comes to chimneys, the mortar between the bricks can begin to crack due to the constant exterior exposure and can cause open areas that could result in the whole structure collapsing eventually. To properly repoint a chimney, there are just a few easy steps that need to be followed.
First, remove as much of the old mortar as possible with appropriate tools. This will allow the new mix to be fitted to ensure great structural support. At least a ¼-inch depth should be reached, After that, spray the surface with water until it drips from the bricks to ensure the place is hydrated and help the new mortar sit and key
Prepare the new mortar mix, and begin filling the gaps between the bricks in small sections, carefully, both vertical and horizontal joints.
For best results strike with a pointing trowel to give a weather struck finish.
Once done, let the mortar dry until it becomes firm at the touch to later brush down the wall to remove any mortar from the brick’s face. Cover the chimney with plastic sheeting or hessian for at least 48 hours to avoid possible interactions with harsh weather conditions.

How to Point a Wall
Pointing a wall is not as difficult and tedious as people might think, and as described in the text, it requires very little material. The most important thing is to strictly follow the required preparation to ensure an excellent mortar mix and prevent undesired structure breakdowns.
For larger jobs or highly elevated surfaces, professional help is highly recommended to ensure safety, and the proper job is done without risking falls or further masonry deterioration.
The tools required are extremely common and can be found Below.
Tools for Pointing Brickwork and Masonry
