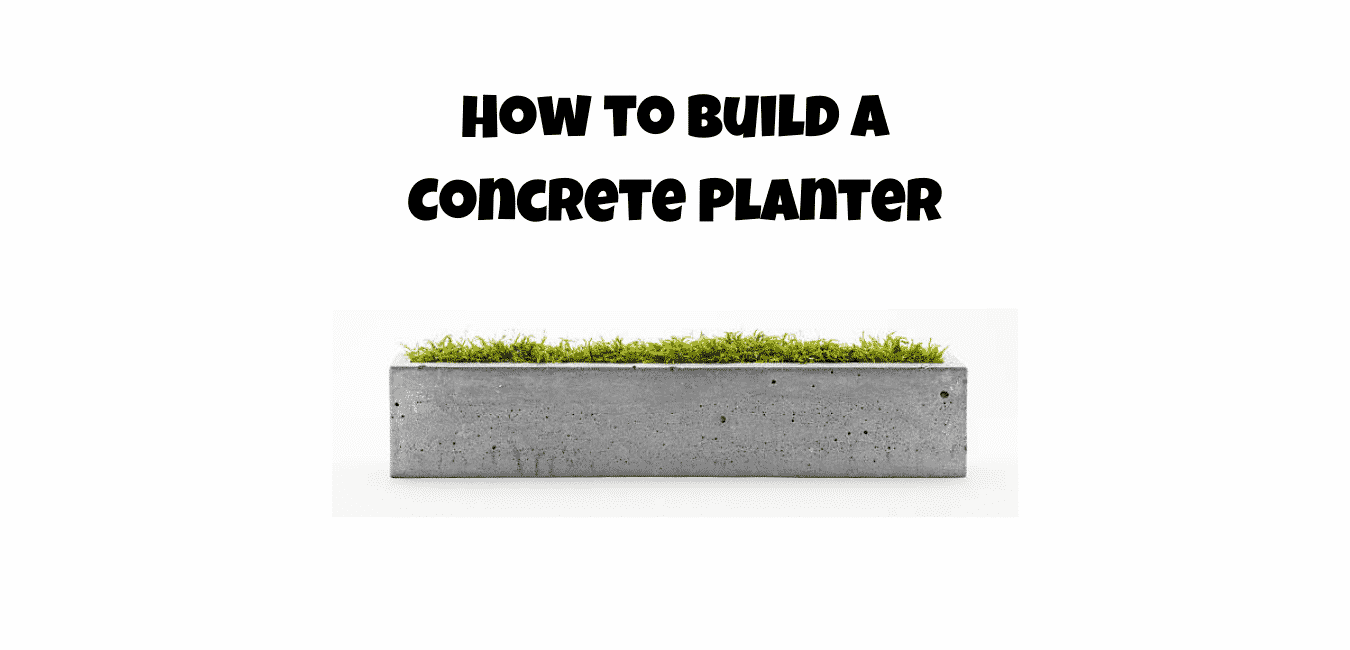
How to Build a Concrete Planter at H
Are you excited about creating a unique concrete planter at home? Today, we will show you how to make a suitable, robust and do it urself concrete planter that you can construct right in your home with very little expertise and tools. Today in this article, “how to make a concrete planter”, We will take you through all the steps to a beautiful planter from scratch, so without wasting time, let’s start.
Table of contents
- Here is What You Need to Get Started
- Making of Foam insert For Larger Concrete Planters
- Preparing of Concrete Mix for the Planter
- Start Putting the Concrete Mix into the Cabinet or Box
- Removing the Foam and cabinet from the Concrete
- Attaching the heavy-duty casters to the Planter’s Base
- Plant your Indoor or Outdoor Plants in the Planter
- How To Build a Brick Barbecue
- RatedbyTrade.com
Here is What You Need to Get Started
The DIY concrete planter is simple and easy to make in just a day with the primary materials and concrete tools you may already have around the house.
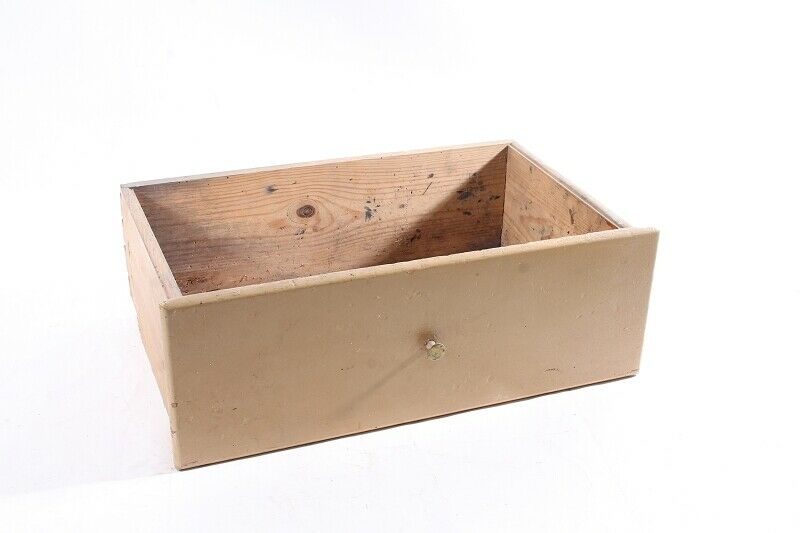
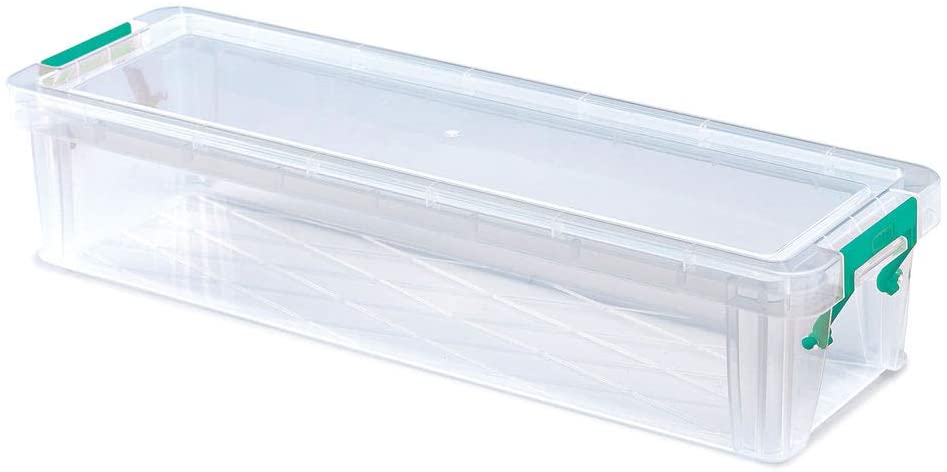
- A cabinet to use as a concrete mould or even a plastic box or anything of that shape. You can pick any shape for the mould but make sure that the material is strong enough to hold concrete.
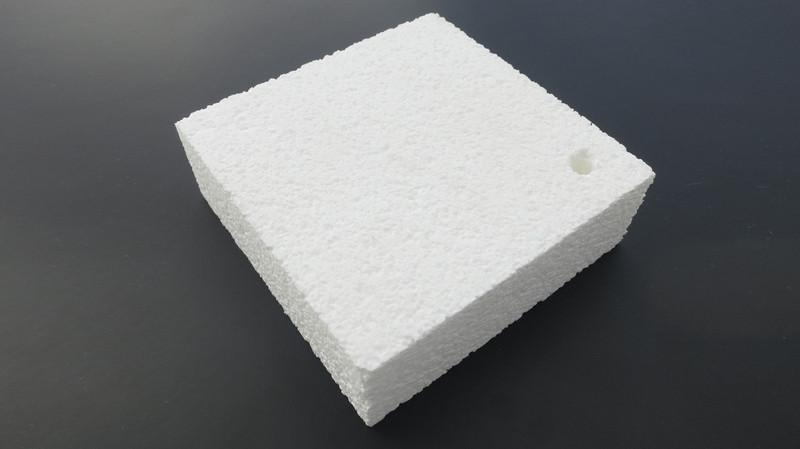
- Rigid Foam or a smaller bucket or box or even an empty paint tin depending on the shape and size you want.
- 0.5 Brass pipe piece or anything similar
- Four heavy-duty casters, if you want wheels on a large planter
- Cooking oil or wd40
- Good quality concrete Mix
- Concreting Tools
- Trowel
- Shovel
- Drill
- Masonry drill bit
- Option Masonry Paint
Let’s do it!
When you have all the concrete planter essentials, it is time to start building.
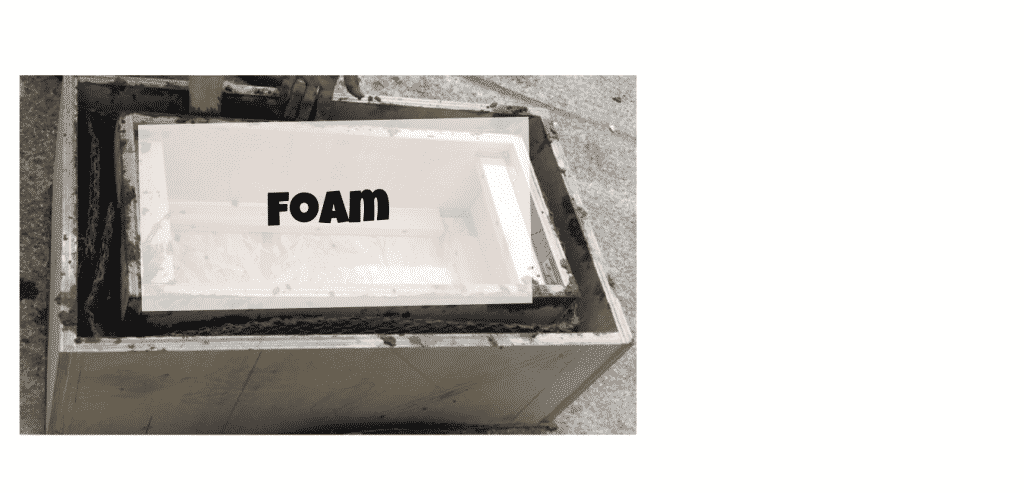
The first step is to make a slightly small foam box inside the main cabinet/box.
Making of Foam insert For Larger Concrete Planters
Cut the foam to fit inside the cabinet, you can use a circular saw or a reciprocating knife or even a hand saw.
Make sure to leave about two inches of space between the foam and the cabinet walls.
You can use construction adhesive to glue the foam together and into place if need be.
Measure the distance from the foam to the top of the cabinet to mark the place where you need to drill the hole for excessive water drainage for the Planter.
Insert a brass pipe in the hole that touches the base foam and tape it down with duct tape. It is good to use some silicon to seal the area around the pipe.
Tie a strap over the top of the box to keep the edges from folding out, you can also use duct tape.
Look for any cracks or holes in the main cabinet/box and seal up with duct tape.
Mark a line about two and a half inches above the top of the foam
Preparing of Concrete Mix for the Planter
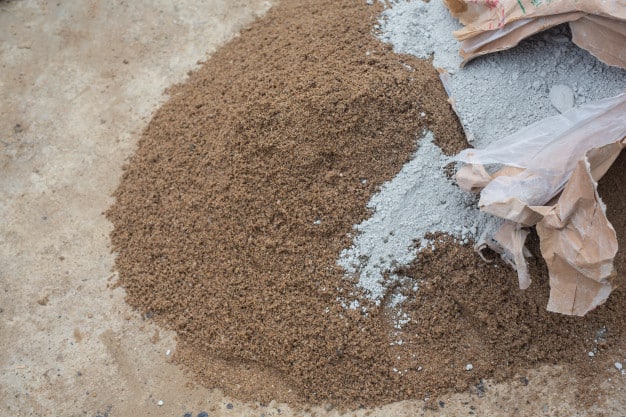
The large concrete planter strength depends on a strong concrete mix. A strong mix consists of sand and cement. The ratio we require is a strong mix of two lots of sand by one cement. Mix these up dry, and then apply water. Before mixing, it is best to sift the sand and cement to remove the stones and other impurities depending on the finish you are after, smooth or rough.
before adding water to complete the Mix, you can also consider adding a coloured dye,
Dye the concrete which will give it a dark or colourful look to the concrete planter when it is complete. Mortar dyes come in various shades, make sure you measure it out and read the instructions on the back. Make sure to get a stiff consistent Mix.
Start Putting the Concrete Mix into the Cabinet or Box
Now it is time to fill the concrete in the cabinet, fill the cabinet with the concrete up to the line and push the wet concrete down to get an air-free mix and making sure it fills all the corners of the cabinet.
After the filling of concrete, vibrate the walls of the cabinet with a hammer, then press the plywood into the wet concrete to remove air pockets.
Once the concrete is compact in the box smooth the top of the box off with a trowel or float.
Now let the concrete cure for at least 48 hours.
Removing the Foam and cabinet from the Concrete
After 48 hours, remove the sidewalls and base foam from the Planter’s concrete structure.
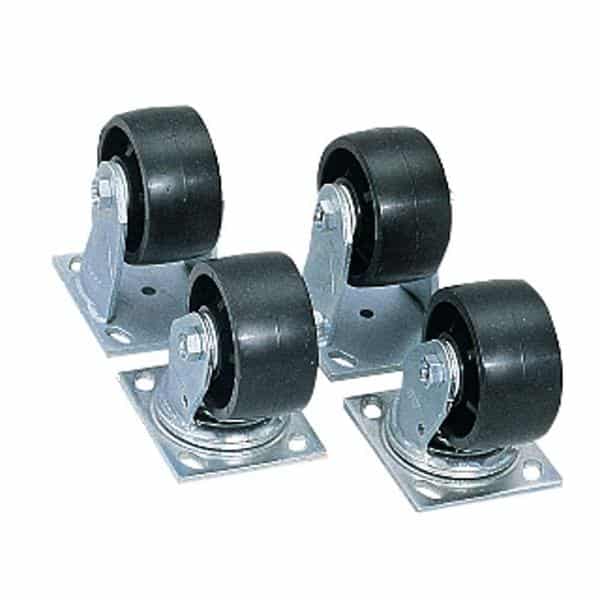
Attaching the heavy-duty casters to the Planter’s Base
For added beauty and better mobility, you can add casters to the base of your concrete Planter. Just glue plywood to the base and drill the holes in the base and attach them with wood screws.
Screw on the fixture and seal it with some caulk. The concrete Planter is ready to use to grow plants. For added beauty, you can decorate the outside of the Planter with paint of your choice. You can use masonry paint to paint the Planter outside if you want it to be different.
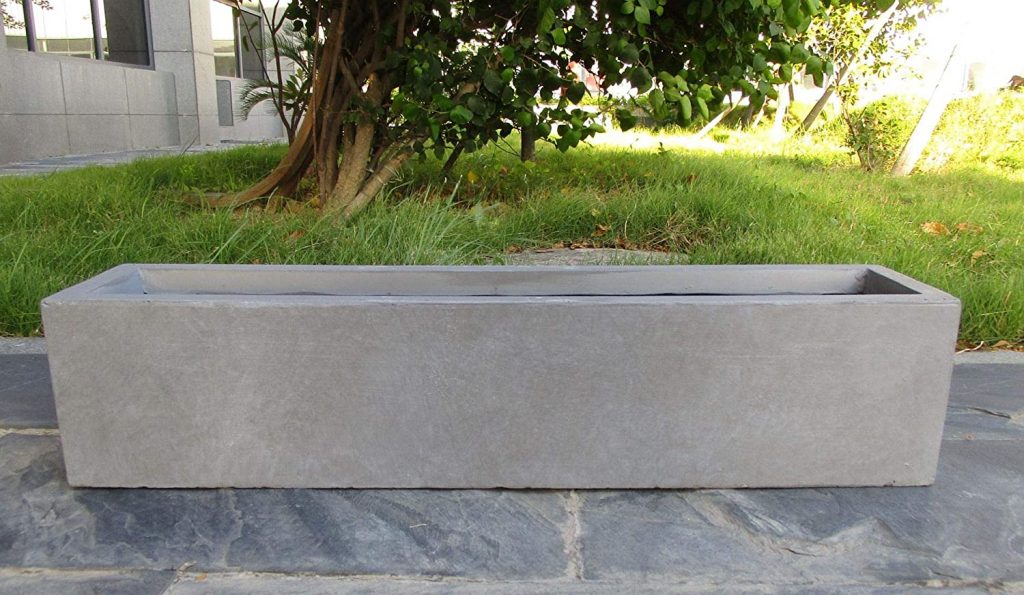
Plant your Indoor or Outdoor Plants in the Planter
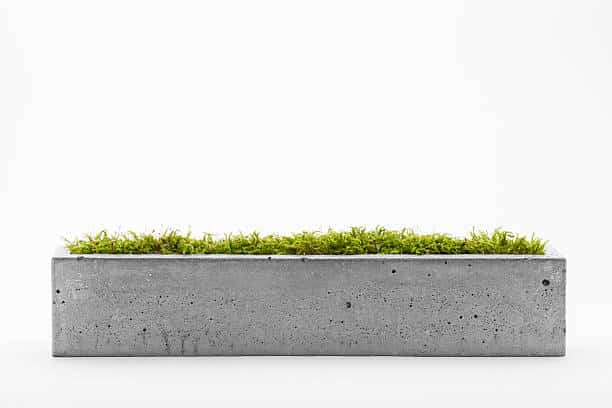
Now you have a long-lasting, sturdy concrete planter to plant your outdoor, even indoor plants. Fill the interior of the Planter with potting Mix and produce whatever flowers or houseplant that you want. You may wish to amend and replace the soil every few
How To Build a Brick Barbecue


Just made one the wife is over the moon, thanks for the information, just followed on facebook.