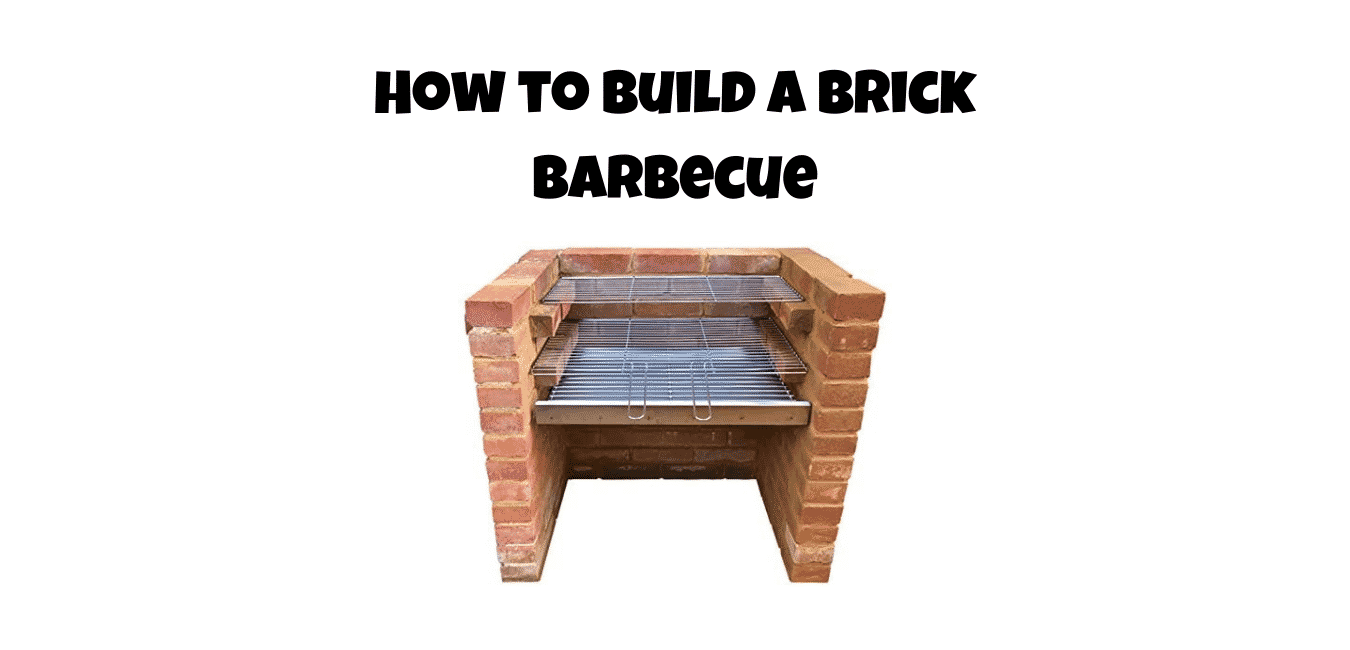
A Guide to Build a brick Barbecue.
There is nothing better than the taste of food cooked on a barbecue. The fantastic thing is that you can enjoy that taste of barbecued food by building your brick barbecue for your home. By spending a good days labour building a unique barbecue, you can have your stylish brick barbecue at a low price that will last a lot longer than buying a mobile barbecue.
Today in this article, We will explore every detail about how to build your brick Barbecue. The tools and the materials needed.
Table of contents
- Steps to Build a Brick Barbecue
- Step-1: Preparation of base Ground:
- Step-2: Selection Of Bricks
- Step-3: Setting Up the Area for The Barbecue
- Step-4: Start Doing Your Mix:
- Step-5: Start Laying
- Step-6: Joining the Wall sections
- Step-7: Start Laying the Extra Course of Bricks
- Step-8: Final Words:
- Tools and Materials Needed To Build a Brick BBQ
- Option Barbecue kit
- Bricks
- Sand and cement
- Shovel
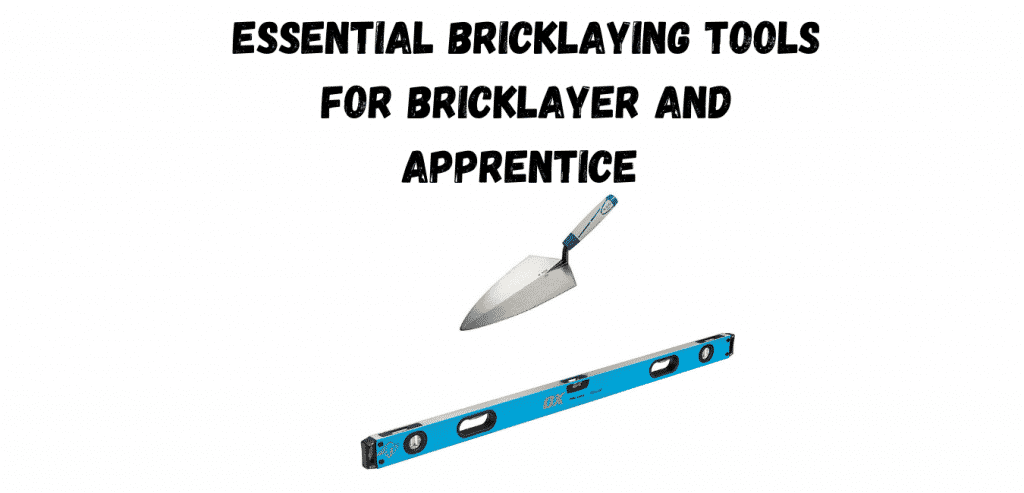
- Bricklayers Trowel
- Pointing Trowel
- Spirit Level
- Brick hammer
- Tape Measure
- Gloves and goggles
- Knee pads
- Essential Bricklaying Tools for Bricklayer and Apprentice
- RatedbyTrade.com
Steps to Build a Brick Barbecue
Building of Brick Barbeque involves the following steps.
Step-1: Preparation of base Ground:
Before star
If you have no concrete base, you can either lay on paving slabs that are securely laid, and that is as good as a concrete base.
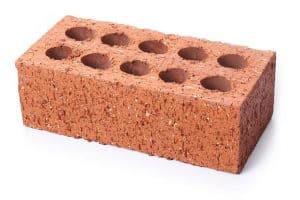
Step-2: Selection Of Bricks
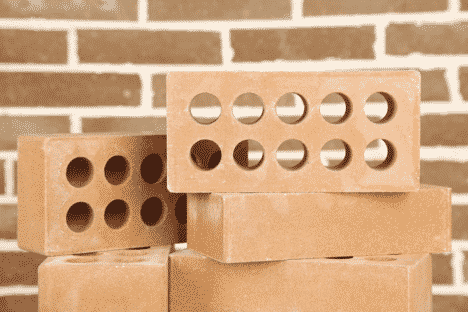
The most important and the first step is selecting the style of Bricks that you are going to use for your Brick Barbecue. The Bricks must be capable of bearing the heat of the barbecue. So, when it is about picking the stylish bricks for your barbecue, make sure that they are either grade A engineering or fire bricks.
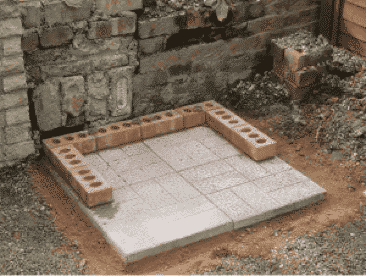
Step-3: Setting Up the Area for The Barbecue
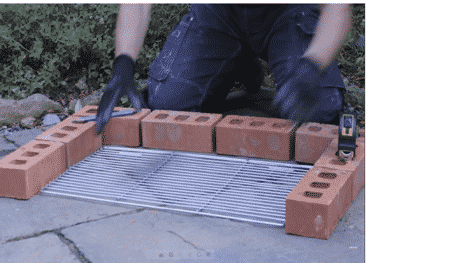
After finding the best bricks selection, now it is the stage to set the area of your barbecue. Ensure to select a dry surface, place the grid into the centre and lay the bricks around, leaving about a 10-15mm gap between the grid and the bricks. You can use the cooking grid as the guide to lay the first course of bricks. Make sure to use full bricks on the 1st course.
Step-4: Start Doing Your Mix:
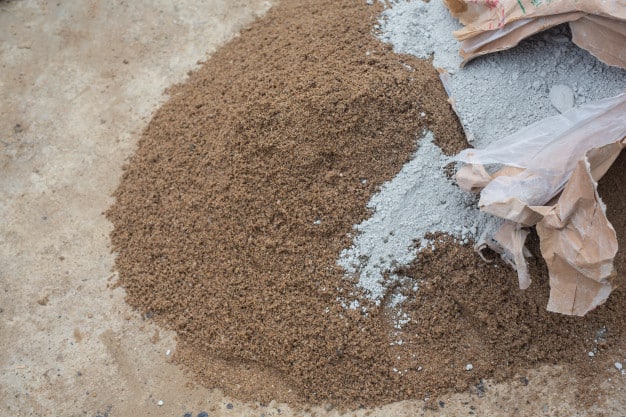
The barbecue strength depends on the strength of the mortar. A strong Mix consists of sand and cement. The ratio we require is three lots of sand by one cement. If you don’t have a cement mixer you can mix by hand, mix these up to create a mound of sand add the cement and mix dry, and then apply water. Now before adding water to complete the Mix, you can also consider adding a coloured dye to the mortar to give it a darker appearance. Mortar colours come in various shades. Make sure you measure it out and read the instructions on the back. Make sure to get a stiff and correct consistency of sand and cement.
Step-5: Start Laying
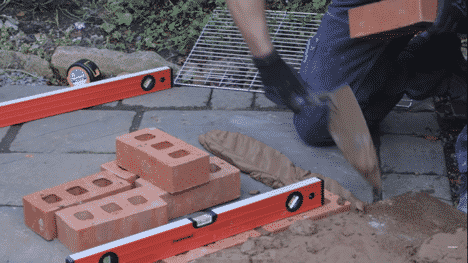
Now we are ready to start laying the first course of bricks. Check the ground level before spreading the first layer of mortar. Level the ground by adding more mortar in some places if needed. Use a spirit level to mark the outer edge of
Step-6: Joining the Wall sections
This step is for extra strength and to build a long-lasting brick barbecue. It is a good practice
Step-7: Start Laying the Extra Course of Bricks
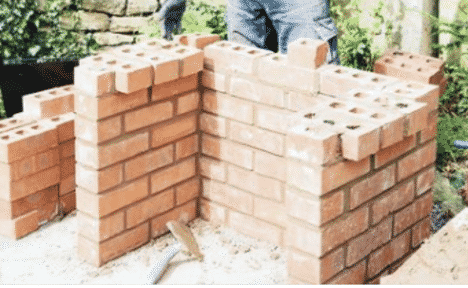
Now, when you have finished with the base layer of bricks and mortar, it time to start laying the extra courses of bricks. The first brick of the second course needs to straddle across the bottom layer by 50 per cent to create the half bond. Each time lay a bed of mortar on top of the bricks.
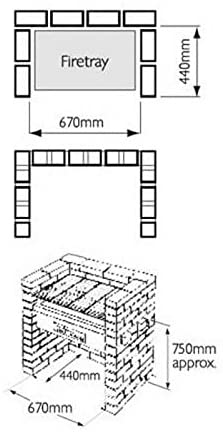
When it is five courses of bricks, leave it for about an hour to let the cement set before putting any more courses on unless your good. And when you have got seven courses, start laying the eighth course by making the steps on the sidewalls to hold the charcoal grid. Make sure the steps are perfectly level. Repeat the same with the tenth course. This will be keeping the Bbq cooking grill in position. Over the tenth course, it comes to the last one. Before the last course, double-check that it is all level and in situ.
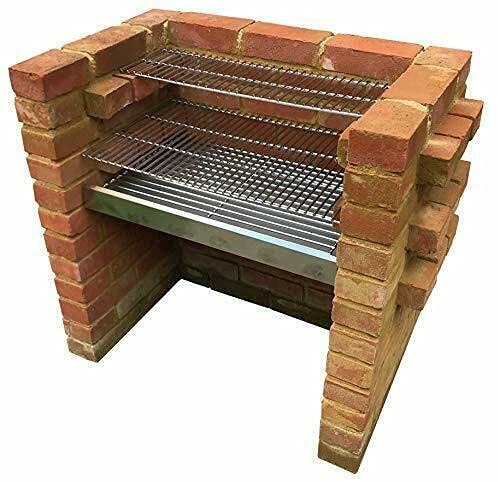
Step-8: Final Words:
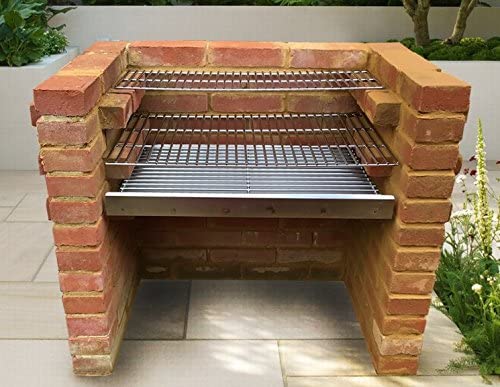
After performing all the above steps, there is your self-made Bricks barbecue is complete. You can put some tiles along the top to finish it stylishly.
Double Checks
Whenever you want to build a brick barbecue make sure to meet the following standards
- First of all, pick the right bricks.
- Always get the correct ratio of sand and cement.
- In between each course of brickwork, the mortar bed must be more or less the same 10mm.
- Make sure to check the level at each step.
Tools and Materials Needed To Build a Brick BBQ
Option Barbecue kit
Bricks
Sand and cement

Select the correct quantity of bricks to build your barbecue or you can get a barbecue kit Below
Shovel
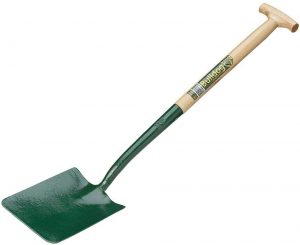
A good Shovel to mix the sand and cement or you can mix with a cement mixer if you have one.
Bricklayers Trowel
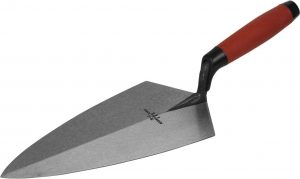
Bricklayers trowel to spread the mortar for the brickwork.
Pointing Trowel
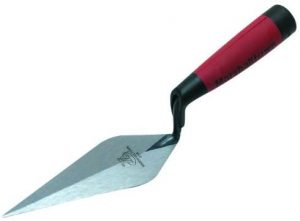
Pointing trowel to point up the brickworl leaving a good finish.
Spirit Level
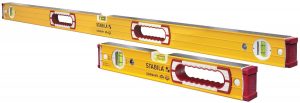
Spirit level to plumb and level the masonry.
Brick hammer
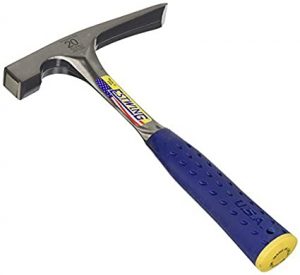
To cut the Bricks when needed.
Tape Measure
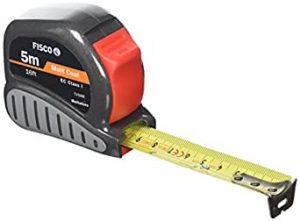
A Tape measure to measure the gauge and dimensions for the grill.
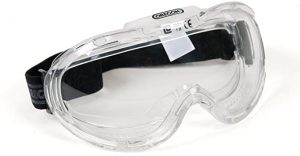
Gloves and goggles

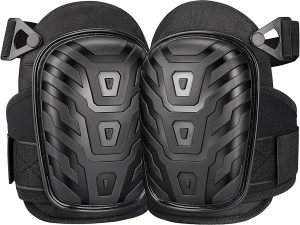
Knee pads
Essential Bricklaying Tools for Bricklayer and Apprentice