Bricklaying is a skilled trade involving bricks, blocks, and other masonry units to build walls, structures, and other architectural features. This guide will explain the bricklaying process and the essential skills and techniques required to become a successful bricklayer.
Bricklaying
Brickwork is a skilled trade that requires laying bricks and masonry units to build walls, structures, and other architectural features. This guide will provide a comprehensive and accurate explanation of the bricklaying process and the necessary skills and techniques to become a proficient bricklayer.
The Bricklayers General Duties
- Site Preparation:
- Before beginning any bricklaying project, it’s imperative to prepare the work area by marking the boundaries of the structure, clearing the site, and ensuring the ground is level. Gather all the necessary materials, such as bricks, mortar, sand, a trowel, a spirit level, a hammer, a chisel, and a scaffold or ladder.
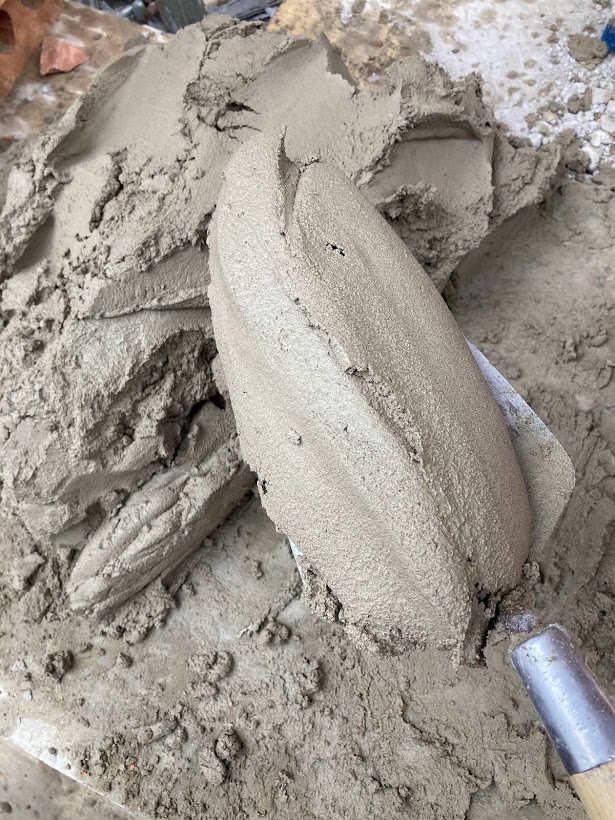
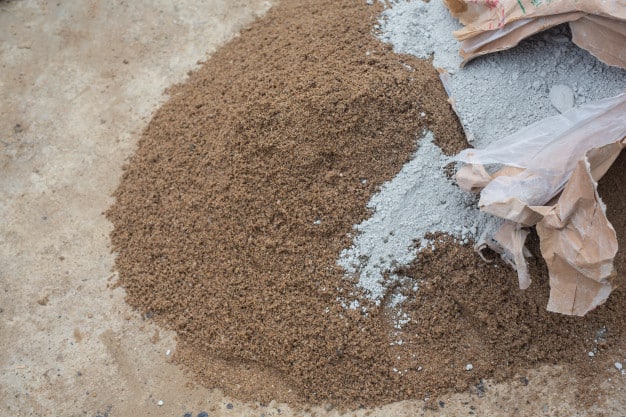
- Mixing Mortar:
- Mortar, a mixture of sand, cement, and water, is used to bond the bricks. The proper consistency of the mortar is crucial for a strong bond between the bricks. To mix the mortar, combine three parts sand with one part cement, then add water until the mixture is the consistency of peanut butter.
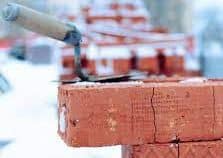
- Setting the Foundation Course:
- The first course of bricks, known as the “footing,” is the foundation of the structure and must be straight and level. Start by laying a full brick, then cut bricks to fit the edges, if necessary.
- (continued) Use a spirit level to ensure each brick is level, and adjust as needed. Fill any gaps with mortar and smooth the surface with a trowel.
- Laying Subsequent Courses:
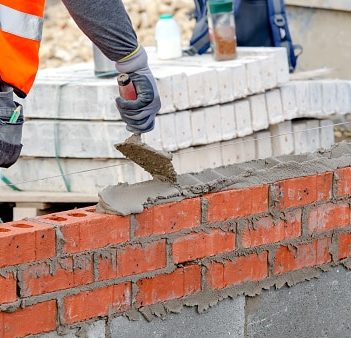
- Once the foundation course is complete, lay each subsequent course of bricks by spreading a thin layer of mortar on top of the previous course and then pressing each brick into place. Ensure to stagger the joints in the bricks for added stability. Use a trowel to smooth the mortar and check each course with a spirit level to ensure they are level.
- Cutting Bricks:
- There will be instances where you will need to cut bricks to fit into tight spaces or around corners. To cut a brick, use a hammer and chisel to score a line along the desired cut, then snap the brick along the scored line. If the amount needs to be precise, use a masonry saw.
- Pointing:
- Pointing is the process of filling the joints between the bricks with mortar. It should be done after the mortar has set but before it has hardened. Using a pointing trowel to fill the joints, smooth the surface with a damp sponge.
- Curing:
- It’s essential to allow the mortar to cure for at least 24 hours before applying any weight to the structure. This will allow the mortar to harden and strengthen the bond between the bricks.
- Finishing:
- After the structure is complete, you can add finishing touches, such as capping stones, arches, or chimneys. You may also need to paint or render the surface for protection from the elements.
- Preparation:
- Before beginning any bricklaying project, planning and preparing the site is essential. This includes clearing the area, marking out the boundaries of the structure, and levelling the ground. You will also need to gather all the necessary materials and tools, including bricks, mortar, sand, a trowel, a spirit level, a hammer, a chisel, and a scaffold or ladder.
- Mixing mortar:
- Mortar is the mixture of sand, cement, and water used to bond the bricks. To make the mortar, mix three parts sand to one part cement, then gradually add water until the mixture is the consistency of toothpaste. The mix should not be too wet or too dry, as this can affect the strength of the bond between the bricks.
- Laying the first course of bricks:
- The first course of bricks, known as the “footing,” is the structure’s foundation and must be level and straight. Start by laying a full brick, then cutting bricks to fit the edges. Use a spirit level to ensure the bricks are level, and adjust them as necessary. Fill any gaps with mortar and smooth them with a trowel.
- Laying subsequent courses:
- Once the first course is complete, lay each subsequent course of bricks by spreading a thin layer of mortar on the top of the previous course and then pressing each brick into place. Make sure to stagger the joints in the bricks to provide extra stability and strength. Use a trowel to smooth the mortar and a spirit level to check that each course is level.
- Cutting bricks:
- Occasionally, you will need to cut bricks to fit into tight spaces or around corners. To do this, use a hammer and chisel to score a line along the brick where you want to cut, then snap the brick along the scored line. Use a masonry saw if the brick needs to be cut to a specific size.
- Pointing:
- Pointing is the process of filling the joints between the bricks with mortar. This should be done after the mortar has set but before it has fully hardened. Using a pointing trowel to fill the joints, smooth the surface with a damp sponge.
- Curing:
- After the pointing is complete, it is vital to allow the mortar to cure for at least 24 hours before adding any further weight to the structure. During this time, the mortar will harden and strengthen the bond between the bricks.
- Finishing:
- Once the structure is complete, you can add finishing touches, such as capping stones, arches, or chimneys. You may also need to paint or render the surface to protect it from the elements.
In conclusion, bricklaying is a challenging but rewarding trade that requires a combination of physical skill, attention to detail, and an understanding of the principles of masonry. By following these steps, you can ensure that your bricklaying project is successful and long-lasting.
Mixing Mortar in Detail:
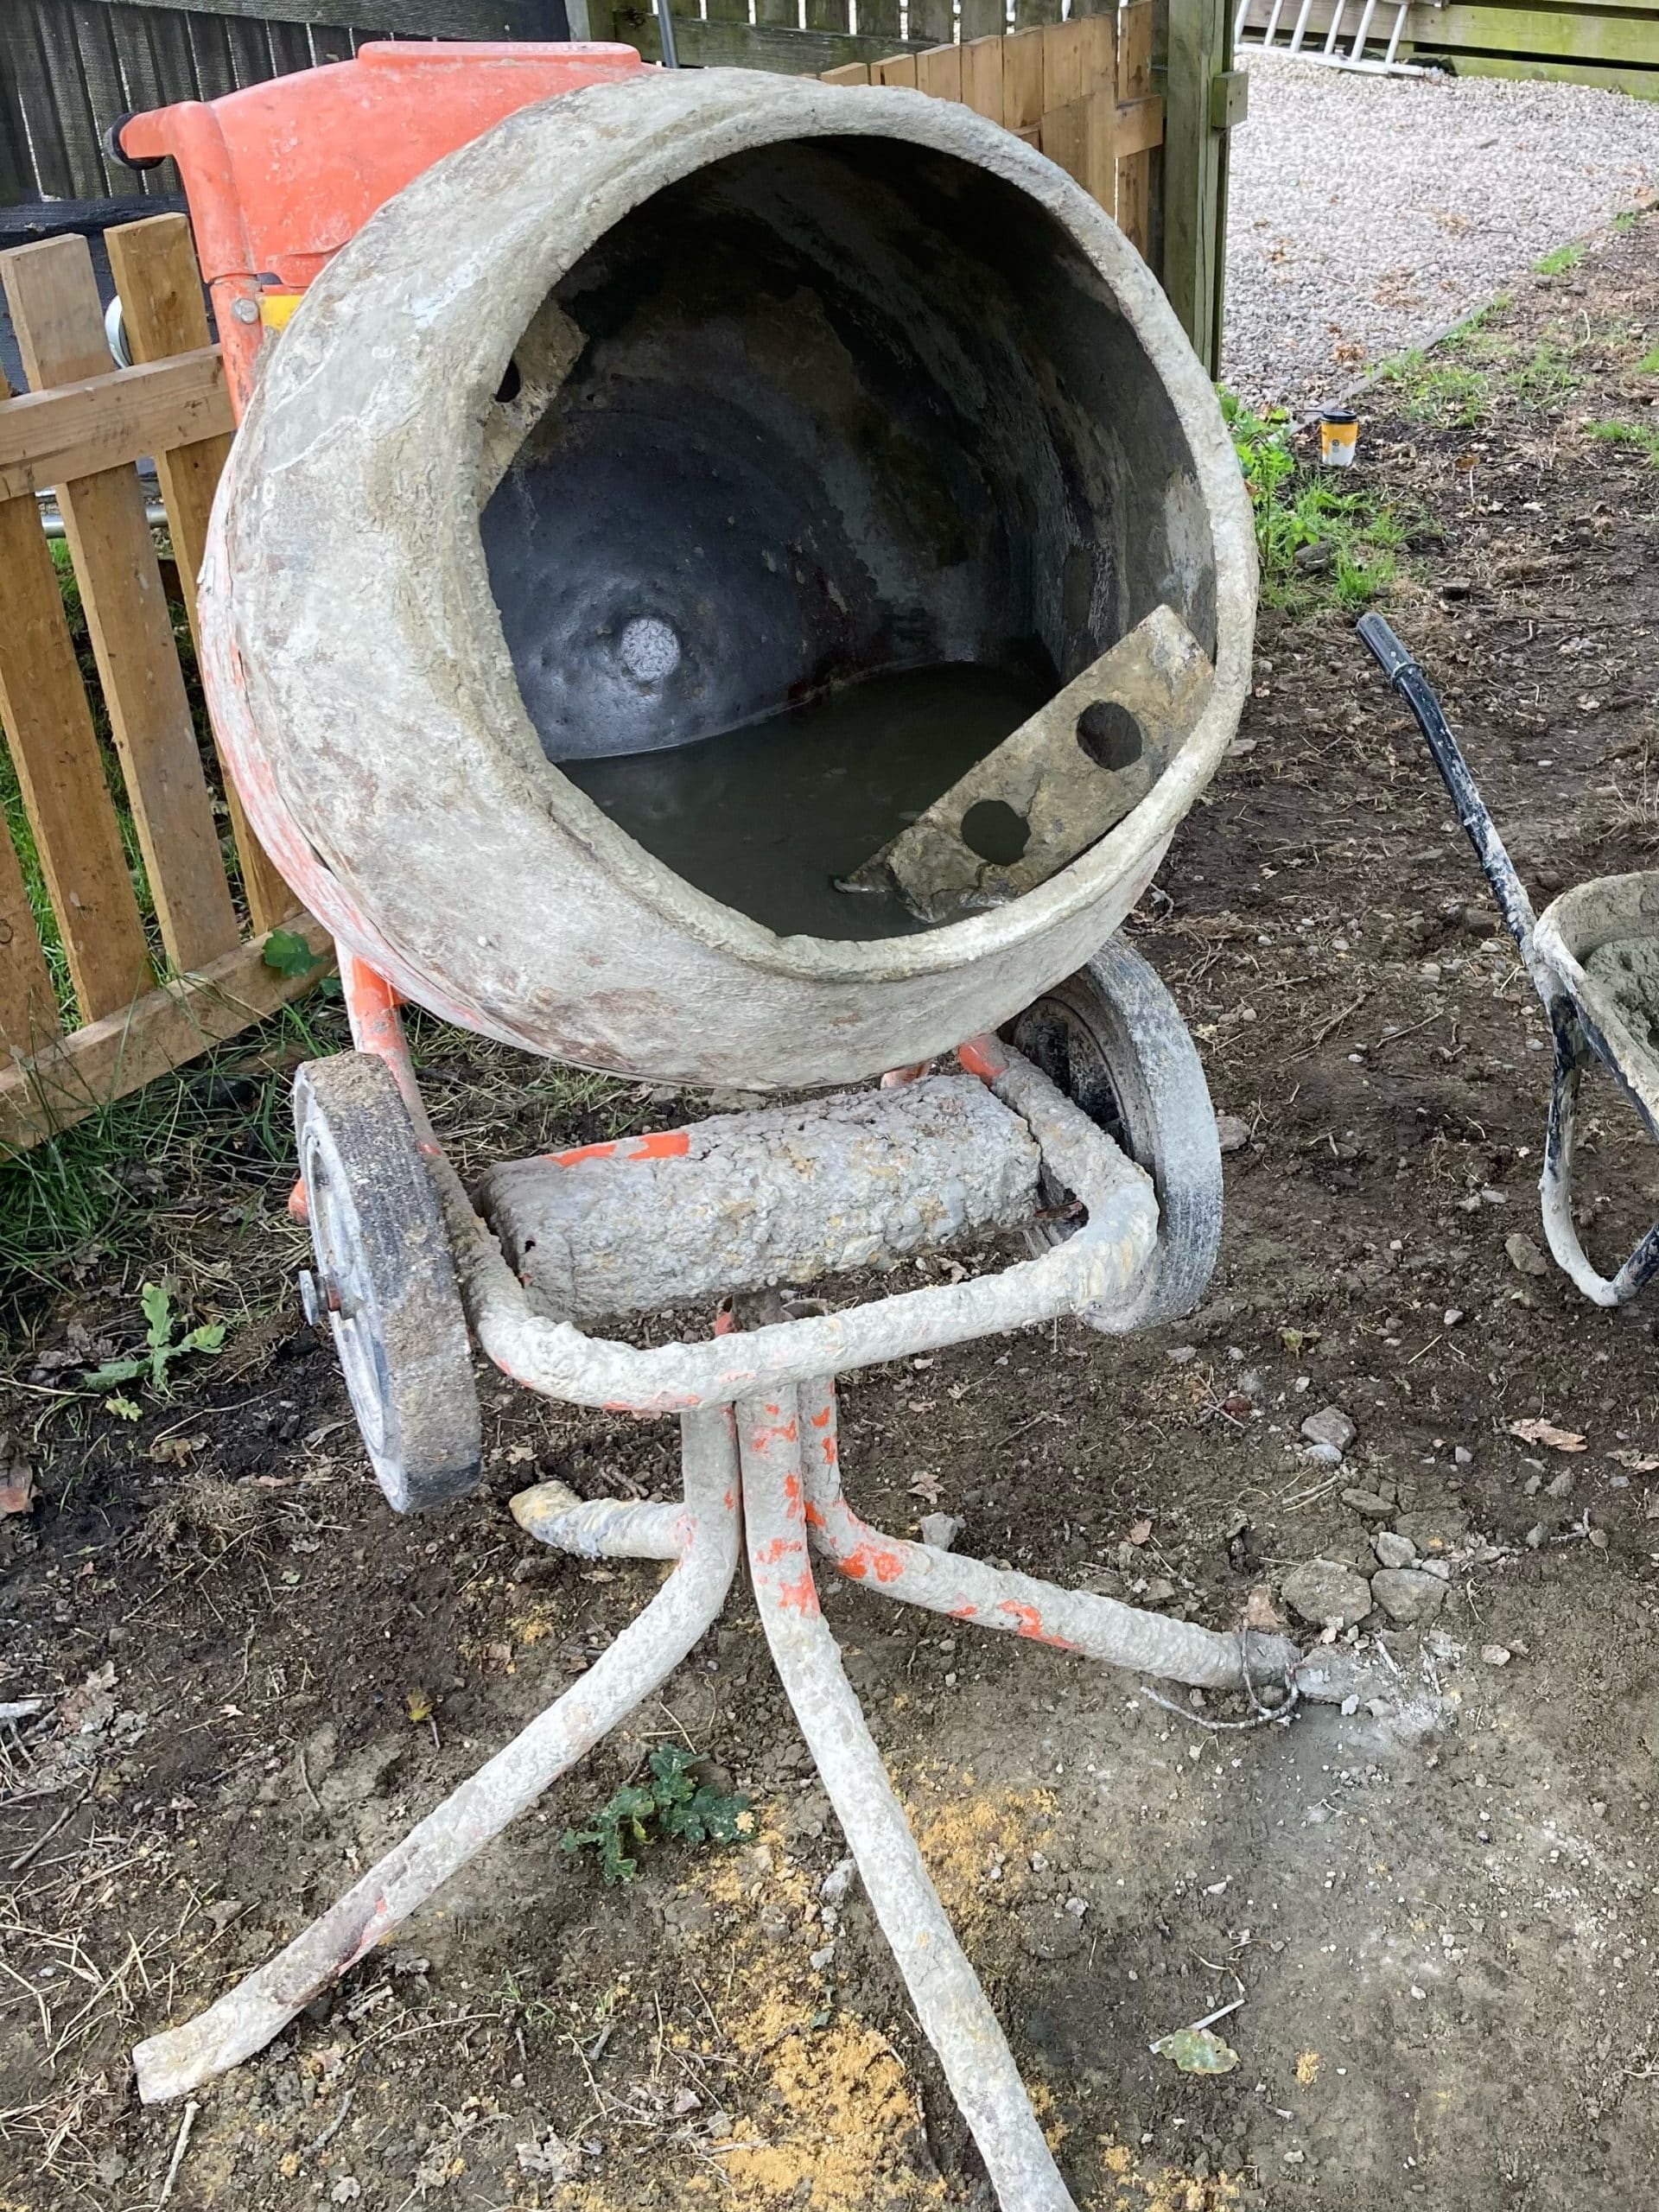
Mixing mortar with a cement mixer is a standard and efficient method for preparing mortar in the construction industry. The following steps provide a detailed outline of how to mix mortar with a cement mixer:
- Prepare the Materials: Gather the necessary materials, including sand, cement, water, and any other specified additives, and place them within reach of the cement mixer.
- Load the Mixer: Load the mixer drum with the appropriate quantities of sand, cement, and any other additives, in accordance with the mortar mix design you are using.
- Start Mixing: Turn on the mixer and add water to the drum. Start with half of the total water required for the mix and add more until the desired consistency is achieved. The consistency of the mortar should be creamy but also stick to your trowel.
- Mix Thoroughly: Continuously mix the mortar for a minimum of 5 minutes to ensure a consistent and homogeneous mixture.
- Discharge the Mix: Once the mixing is complete, discharge the mixer drum by opening the discharge door. Be cautious when releasing the mix, as it may still be hot and heavy.
- Store the Mortar: Store the freshly mixed mortar in a dry and covered area, protected from moisture and wind, to prevent it from drying out or curing too quickly.
It is important to note that protective gear, such as safety goggles and gloves, should be worn while mixing the mortar and discharging the mixer. Using a wheelbarrow or mortar board and a pointed trowel can also help transport and apply the mixed mortar.
In conclusion, mixing mortar with a cement mixer is an efficient and effective method for preparing mortar in the construction industry. Correctly mixing the mortar, and following the recommended safety measures, will result in a consistent and high-quality mortar for your bricklaying project.
The type of mortar mix used depends on the specific project and its requirements. The most common mortar mixes are:
- Type N: A basic mix that contains one part Portland cement, one part lime, and six parts sand. It is suitable for general-purpose masonry and interior and exterior walls.
- Type S: A stronger mix that contains one part Portland cement, one part lime, and five parts sand. It is used for load-bearing walls and structures.
- Type M: The strongest mix that contains one part Portland cement, one part lime, and four parts sand. It is used for heavy-duty masonry, such as chimneys and retaining walls.
- Lime Mortar: This type of mortar contains only lime and sand and is used for historic restoration projects and traditional masonry construction.
It is essential to mix the mortar properly to ensure the bond between the bricks is strong and durable. Always follow the manufacturer’s instructions for mixing ratios and add water gradually until the desired consistency is achieved.
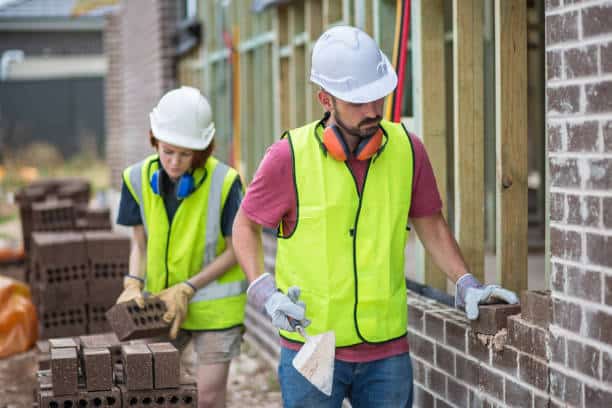
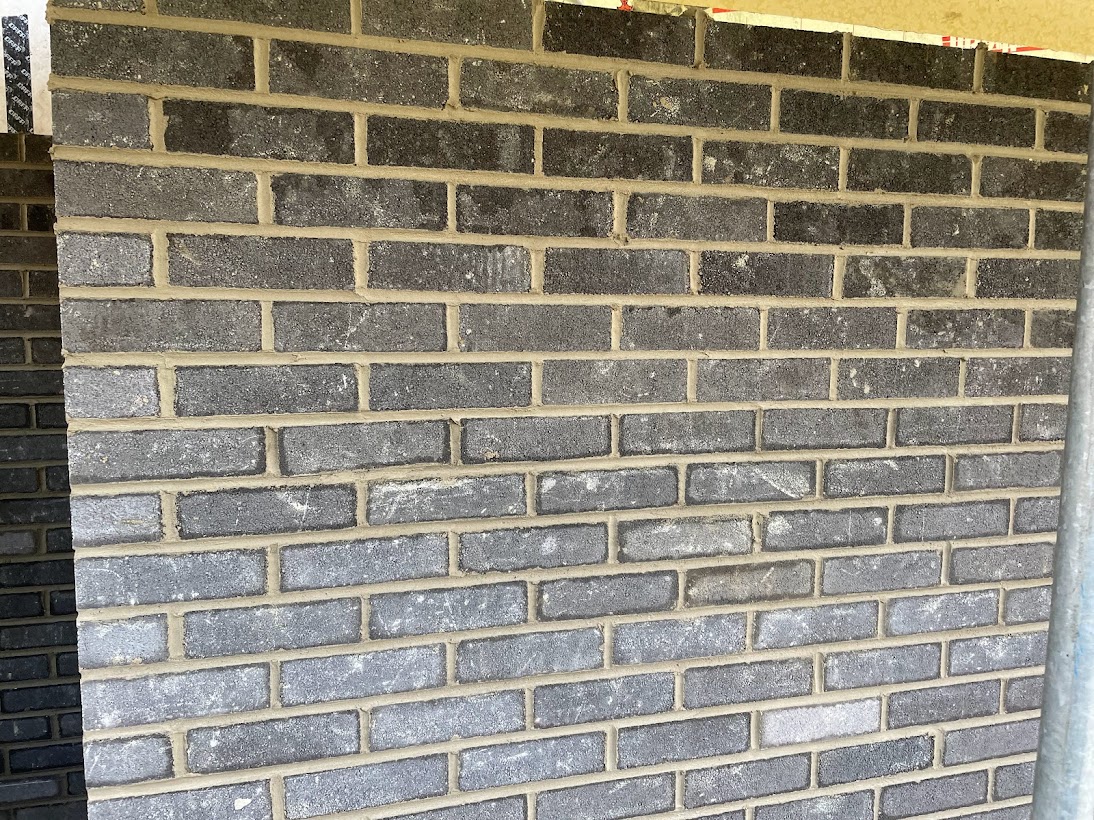
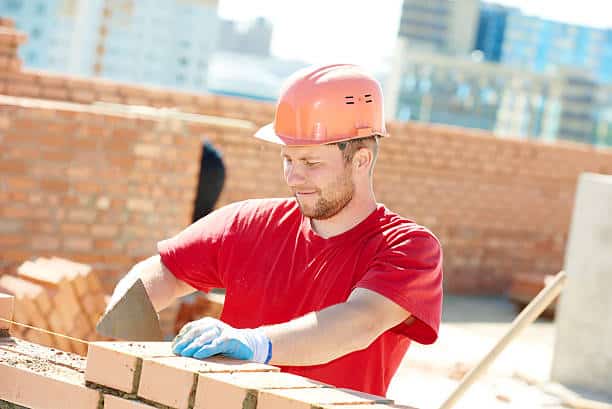
Laying bricks is crucial to masonry work, requiring precision and accuracy. Here is a brief guide for laying bricks:
Construction
- Base Preparation: Ensure the base is level, compact, and debris-free. Lay a bed of sand to create a stable surface for the bricks.
- Line Marking: Use a level to mark a line where the first course of bricks should be laid to maintain a consistent height and alignment.
- Mortar Spread: Use a trowel to spread a layer of mortar on the base, following the line marking. Ensure the mortar layer is thick enough to hold the weight of the brick.
- Brick Laying: Begin laying bricks at one corner of the wall, aligning the top and sides with the line marking. Check the level of each brick using a spirit level.
- Joint Filling: Fill the joints between the bricks with mortar, using a pointing trowel, ensuring a tight and complete fill.
- Repeat and Clean: Repeat the laying and joint filling process until the desired wall length is complete. Clean any excess mortar from the surface of the bricks using a damp cloth.
- Cure Time: Allow the mortar to cure for at least 24 hours before applying any additional weight or exposing it to moisture.
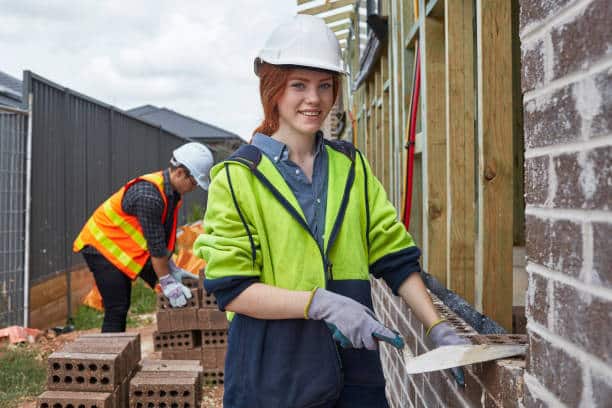
How To Build a Brick Wall Like a Professional
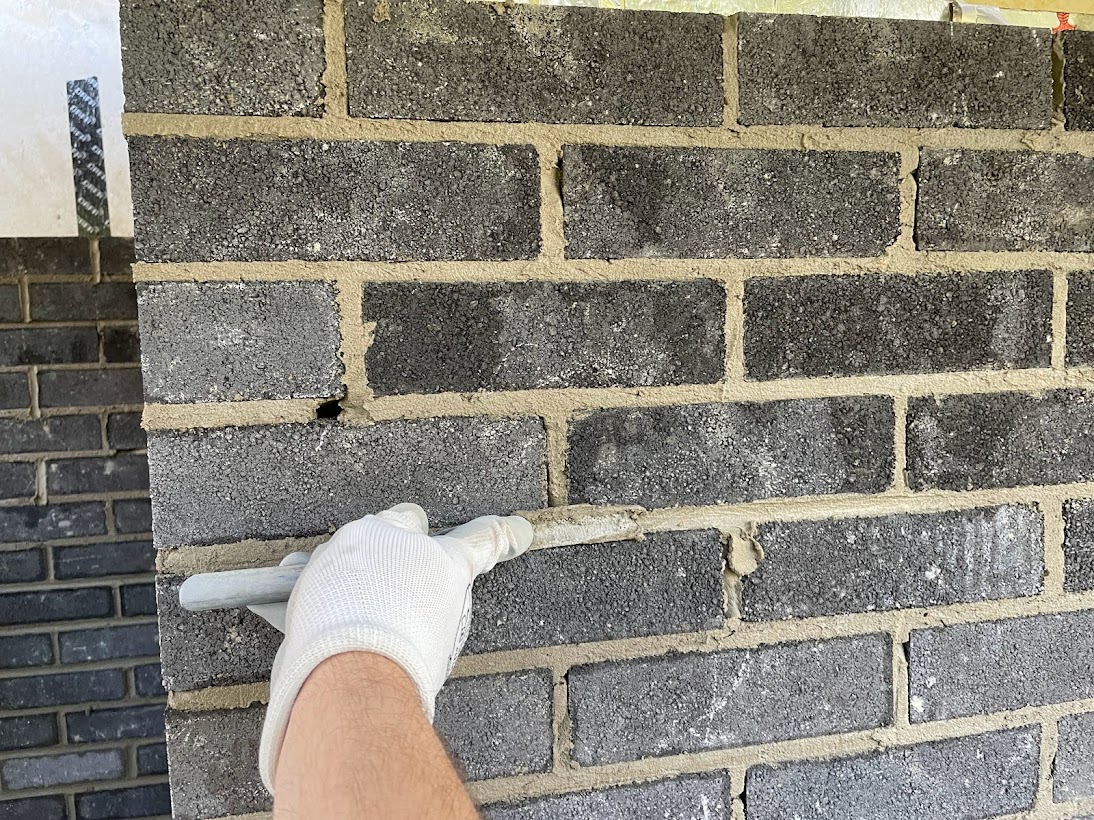
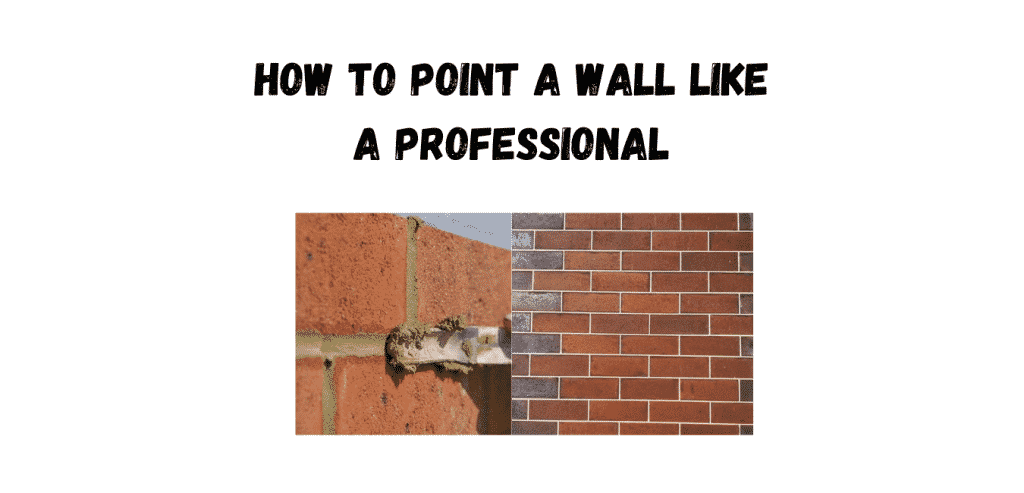
Pointing
Pointing a wall is the process of filling the joints between the bricks with fresh mortar to create a clean and durable finish. The following steps outline the process of pointing a wall:
- Preparation: Before starting the pointing process, it is vital to prepare the wall by removing any loose or crumbling mortar. This can be achieved by gently tapping the joints with a hammer and chisel.
- Mixing the Mortar: The type of mortar used for pointing should match the mortar used in the wall’s original construction. Mix the mortar to the correct consistency, typically that of creamy peanut butter, using the appropriate ratio of sand, cement, and water.
- Applying the Mortar: Using a pointing trowel, apply the mortar to the joints, filling them completely. The depth of the joint should be consistent, and the mortar should be pushed into the joint as far as possible.
- Smoothing the Mortar: After the joint is filled, use a pointing iron or trowel to smooth the surface of the mortar, removing any excess and creating a smooth, uniform finish.
- Curing the Mortar: Allow the mortar to cure for at least 24 hours before exposing it to any moisture or heavy load. During this time, it is important to protect the wall from elements, such as rain or strong winds, to prevent damage to the fresh mortar.
- Final Inspection: Once the mortar has fully cured, inspect the wall for any defects or inconsistencies and correct them as necessary.
In conclusion, pointing a wall is a crucial step in maintaining the integrity and durability of a brick structure. Following these steps and using the correct materials will ensure a professional and long-lasting finish.
How To Point A Wall Like A Professional
Bricklayers Tools
Bricklaying is a trade that requires a range of specialist tools to complete the job effectively. Here is a list of the essential tools for a bricklayer, including tape measures, bricklayer’s profiles, and brick tongs:
- Bricklayers Trowels: Used for spreading and smoothing mortar, a brick trowel and pointing trowel are essential tools for a bricklayer.
- Spirit Levels: Used to ensure that bricks are laid level and plumb, levels are a crucial tool for a bricklayer.
- Hammers: Brick hammers are used to break and shape bricks, while masonry hammers are used to drive chisels.
- Chisels: Used to cut bricks to size and shape, chisels are a common tool for a bricklayer.
- Saws: Brick saws, including diamond blade saws, are used to cut bricks to size and shape when chisels are not suitable.
- Breakers: Pneumatic breakers or jackhammers can break apart more significant pieces of masonry or concrete.
- Tape Measures: Used to accurately measure the length of bricks and other building materials.
- Bricklayer’s Profiles: Used to build quick plumb straight brickwork
- Brick Tongs: Are used to handle bricks and other masonry materials. Safety Equipment: A bricklayer must have protective gear, including safety glasses, hard hats, work gloves, and safety shoes.
- Mixing Equipment: A wheelbarrow or cement mixer is used to mix mortar, and a shovel and bucket are used to move the mortar to the work area.
Essential Bricklaying Tools
Bricklayers Working Hours
The working hours for bricklayers can vary depending on several factors, including the specific job they are working on, the type of employer they work for, and local labour laws and regulations. Bricklayers generally work full-time, typically around 40 hours per week. However, some bricklayers may work overtime, mainly if they work on a tight deadline or are required to complete a project more quickly.
In addition, some bricklayers may work part-time, either by choice or due to the availability of work in their area. Part-time bricklayers may work fewer hours each week, such as 20 or 30 hours, and may not be eligible for the same benefits as full-time workers.
It’s also worth noting that bricklaying can be physically demanding, and bricklayers may be required to work in all weather conditions, including rain, snow, and hot sun.
Weather can affect a bricklayer’s working week bricklayers cant work in the rain as it will affect the masonry, and the mortar will become unusable. In cold conditions, bricklayers are unable to work when it drops below freezing as the cement will freeze rather than cure. So bricklayers can have time off work in the wetter and colder months due to weather conditions.
Bricklayers Pay
The average salary for a bricklayer varies depending on several factors, such as location, experience, and skill level. For example, in the United Kingdom, the average salary for a bricklayer is around £35,000 per year, while in Australia, the average salary is around AUD 80,000 per year. The average wage for a bricklayer in the United States is around $60,000, but this can range from $35,000 to $75,000.
It is important to note that salaries can also vary depending on the type of project, the size of the company, and the specific responsibilities of the bricklayer. For example, a bricklayer working on a large construction project might earn a higher salary than a smaller one. Additionally, bricklayers with certifications or specialist skills may command higher wages.
Price Work Bricklayer
Some bricklayers may be paid on a piece rate basis, otherwise known as price work, meaning they get paid based on the number of bricks they lay or the amount of work they complete rather than by the hour. This type of compensation structure can be beneficial for experienced and skilled bricklayers who can work efficiently and achieve a high volume of work quickly.
Under this system, the more work, a bricklayer completes, the more they can earn. This can incentivise bricklayers to work harder and be more productive, as they are directly rewarded for their efforts. It can also provide a flexible work arrangement for bricklayers who prefer to work more and less hours or take on additional work as needed.
However, it’s important to note that price-rate compensation can also be risky for bricklayers, as it can result in fluctuations in their income from week to week or month to month, depending on the amount of work available. Additionally, some bricklayers may need help to keep up with the pace required to earn a decent income under this type of arrangement, mainly if they are working on a large or complex project that involves a lot of time and effort.
Overall, the cost of hiring a bricklayer can vary widely based on their experience, skill level, and the type of work they are completing. Therefore, it’s essential to communicate clearly with the bricklayer or their employer to determine the pay rate and the specific compensation arrangement that will be in place before starting any work.
Becoming a Bricklayer
Becoming a bricklayer typically requires a combination of education and practical experience. The amount of time it takes to become a bricklayer can vary depending on an individual’s background, training, and dedication to the trade. Here are a few factors to consider:
- Education: Most bricklayers receive their training through apprenticeships or vocational schools, which can take anywhere from 2 to 4 years to complete. This type of education provides hands-on experience and classroom instruction in areas such as masonry techniques, building codes, and safety practices.
- On-the-Job Training: Besides formal education, bricklaying also requires practical experience. This can be gained through on-the-job training or working as an apprentice for an experienced bricklayer.
- Physical Demands: Bricklaying is a physically demanding trade that requires the ability to lift heavy loads, work in awkward positions, and stand for long periods. Good hand-eye coordination and dexterity are also essential skills for a bricklayer.
In conclusion, becoming a bricklayer typically requires a combination of education and on-the-job training, which can take anywhere from 2 to 4 years to complete. The trade also involves physically demanding work, so it is important to be the good physical condition and have the necessary skills and abilities to perform the job effectively.
LINKS
https://en.wikipedia.org/wiki/Bricklayer